TSplus App Configuration
Manage your servers
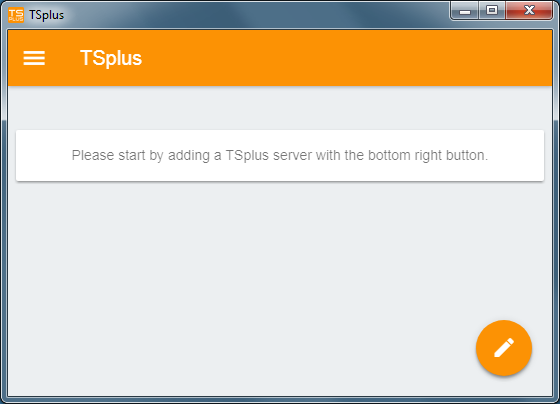
The user interface and configuration are simple and intuitive.

First, add a TSplus server by clicking on the bottom right button:
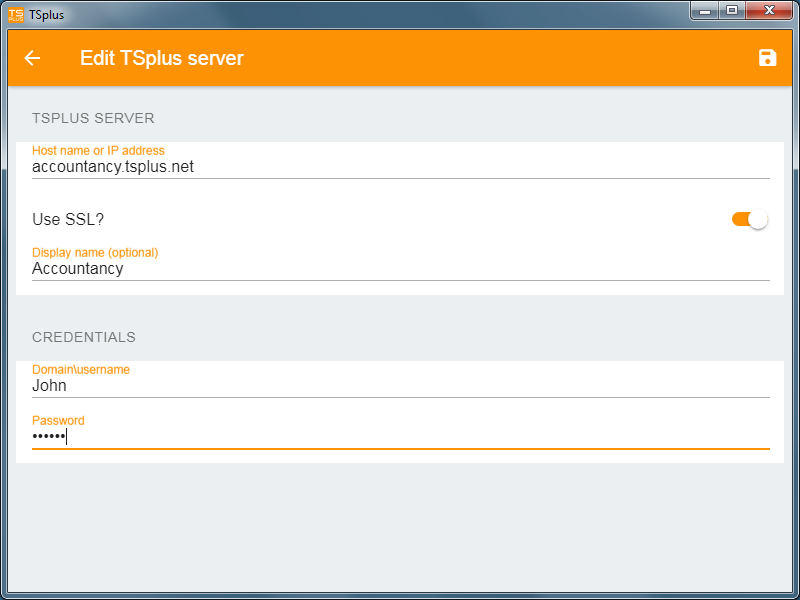
Then, add your server information and configure it:
- Enter its its host name or IP address.
- SSL is disabled by default, but you can choose to enable it.
Warning: SSL Activation only works if you installed a valid SSL Certificate on your TSplus server. See this documentation for more information.
- Enter its display name, which is optional.
- Enter your user's credentials with the domain or user name and its password.
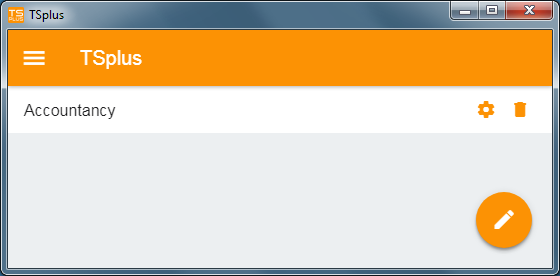
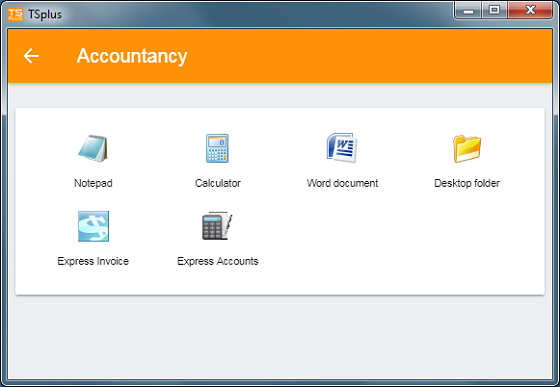
Then click on the top right button to save. You can now click on your server to access your applications:
Printing
Easily print on your local printer by using the Universal Printer.
Since TSplus App 11.40 version, printed documents open with the default PDF reader app.
Settings and Version
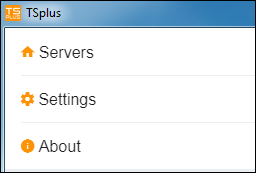
Under the top left menu, you can:
- Manage your servers
- Manage your settings
- See the legal information on the About section, and your TSplus App version.
Settings
Various settings are available on the Settings window:

- You can change the language.
- Modify the display settings by changing the zoom level at your convenience, reduce network usage or choose between 3 mouse pointer sizes: small, medium or large.
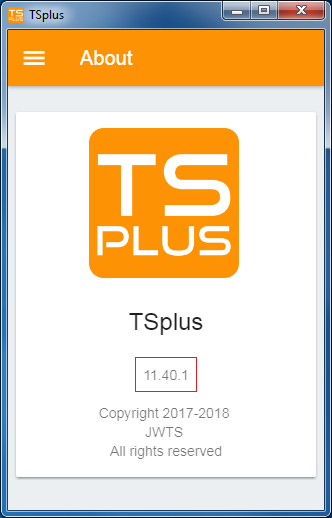
Version
On the About window, you can see the legal information as well as your current TSplus App version :