Two-factor Authentication
Table of contents
- Overview
- Requirements
- Activate your license
- Enable two-factor authentication
- Add users and groups
- Edit users
- Remove users and groups
- Reset configuration for users
- Enroll User for two-factor authentication
- Receive codes with an authenticator app
- Configure SMS to receive authentication codes
- Login using two-factor authentication
- Time synchronization
- Settings
Overview
Two-factor authentication adds an extra layer of security and prevents access to your users' session even if someone knows their password.
A combination of two different factors is used to achieve a greater level of security:
1) something they know, a password.
2) something they have, a device - such as a smartphone - with an authentication app installed..
You can use one of the following authenticator apps to proceed. These apps are available across a wide range of platforms:
- Authy
- Google Authenticator
- Microsoft Authenticator
Each time a user sign in to its remote session it will need its password and a verification code available from its mobile phone. Once configured, the authenticator app will display a verification code to allow him or her to log in any time. It works even if its device is offline.
OR you can decide to receive verification codes by SMS. In this case, you will have to create a free account on Twilio.
Requirements
Two-factor authentication requires TSplus Remote Access Mobile Web or Enterprise Editions.
Two-factor authentication is supported by:
- TSplus Remote Access Web portal, for both HTML5 and Remoteapp connections
- TSplus Connection Client, for clients generated since version 15.30.3.15, with 2FA support explicitely enabled. See Portable Client Generator Support for Two-factor Authentication
- 2FA is related to Windows Users and not Web credentials
This authentication mode does not support login through standard Microsoft Remote Desktop client (mstsc.exe).
In order to provide an even safer solution, RDP connections are denied for 2FA enabled users.
As a prerequisite, TSplus server and Devices must be on time. See the Time Synchronization and Settings sections for more configuration information.
Activating Two-factor Authentication Add-On License
The Two-Factor Authentication feature can be found on the Add-On tab of the AdminTool:

It is available as a 30-day trial for 10 users. To activate your license, copy the serial number you can find at the bottom of the Home tile:
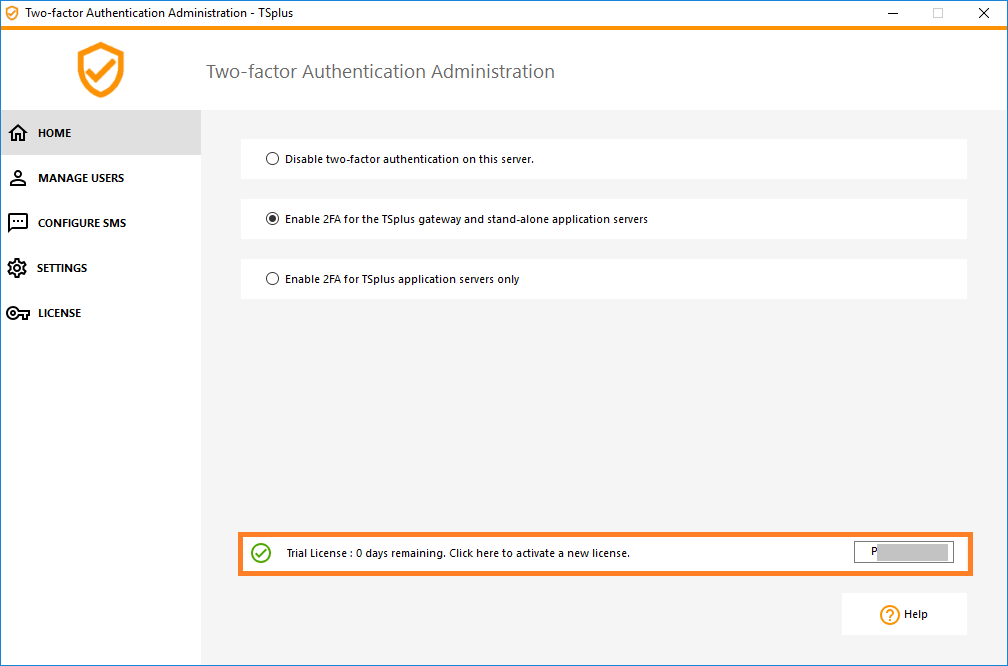
Then, connect to our Licensing Portal and enter your Order Number, your e-mail address, Serial Number and select "Two-Factor Authentication" on the dropdown list below:
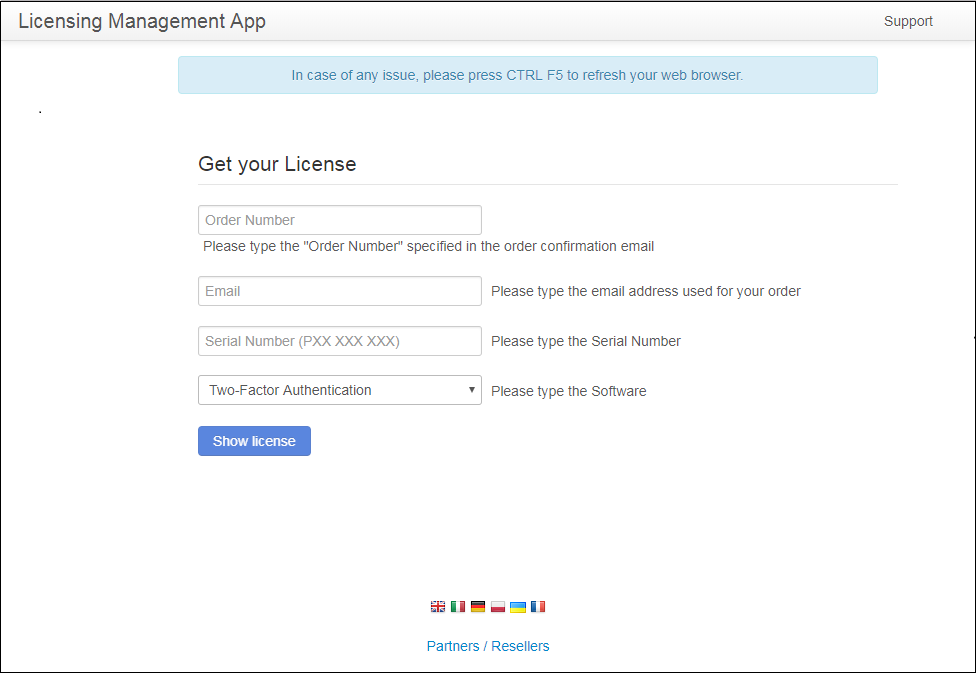
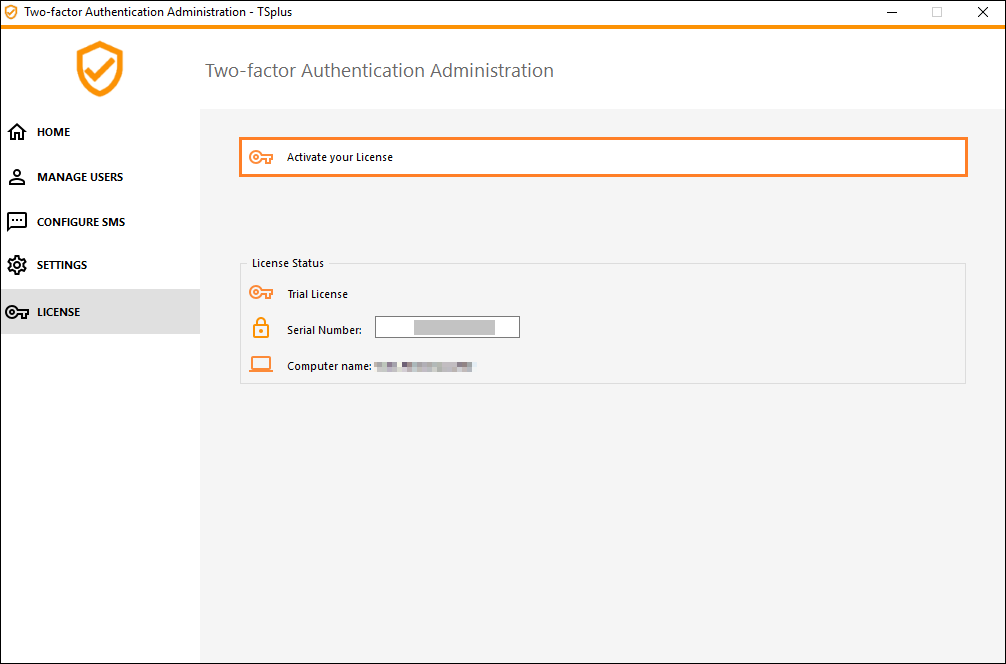
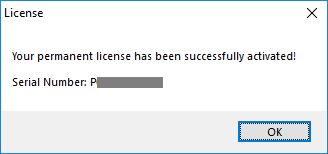
You will get your license.lic file. Then, go to the License tab and cick on the "Activate your license" button:

Enable Two-factor Authentication
Perform the following steps to enable two-factor authentication for your TSplus server or deployment. If your TSplus deployment is configured to use multiple servers, perform this task on the TSplus server exposed as the single point of entry for users or having the reverse proxy role.
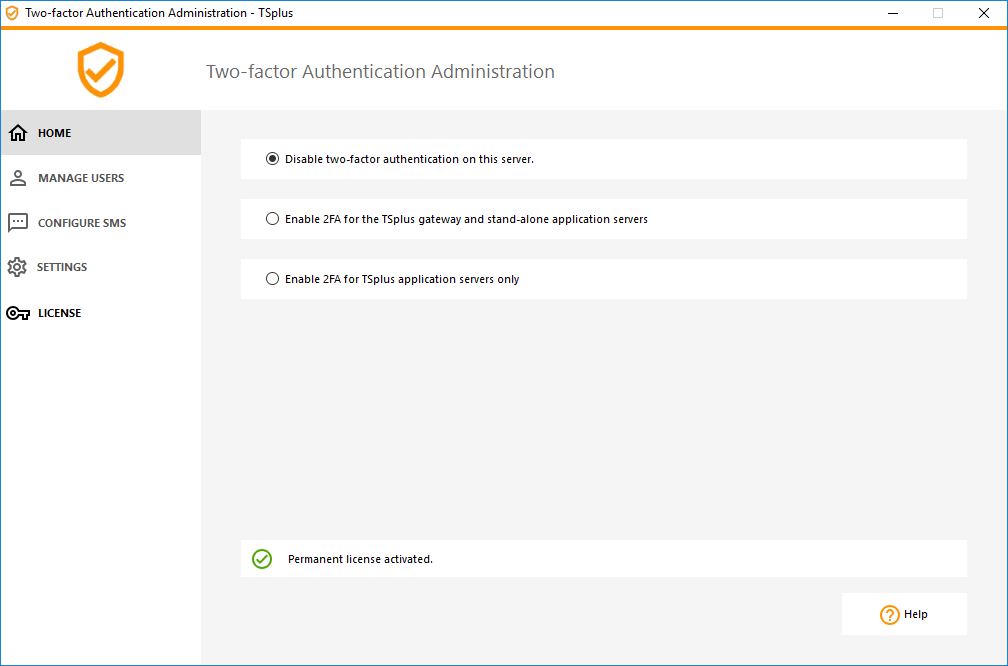
1) Open the two-factor authentication administration application. The two-factor authentication status and the license status are displayed:

By default, 2FA is enabled for the TSplus gateway and stand-alone application servers.
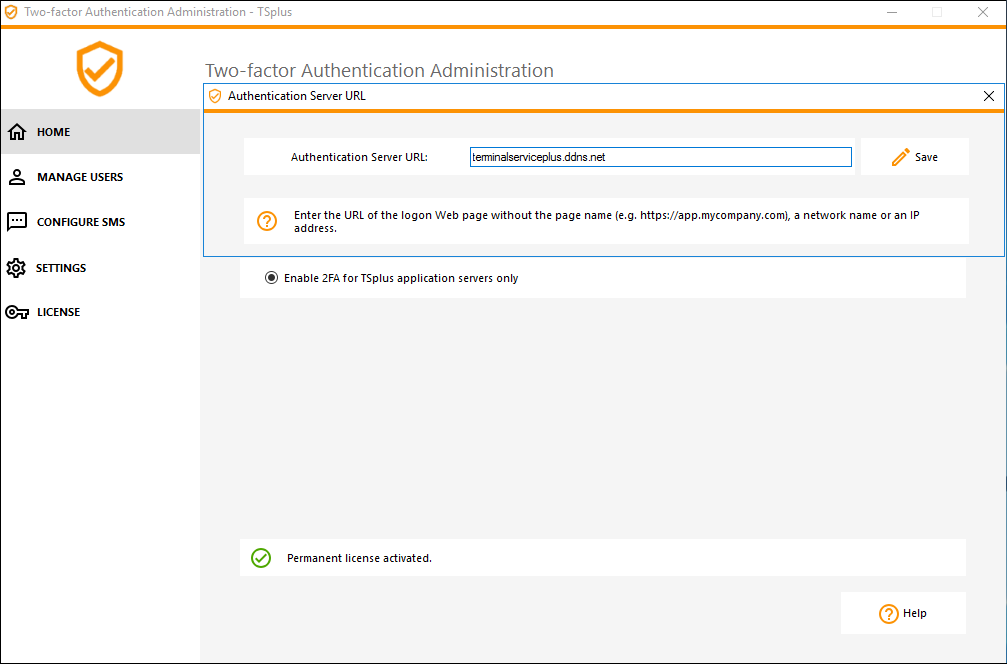
You can enable it for TSplus application servers only, by entering the authentication server URL:
Or disable it:
Add Users and Groups
Once two-factor authentication is enabled, you can configure users for two-factor authentication.
1) From the two-factor authentication administration application, click on the Manage Users tab.

2) Then, click on Add to select users and/or groups of users. The Select Users or Groups box opens.
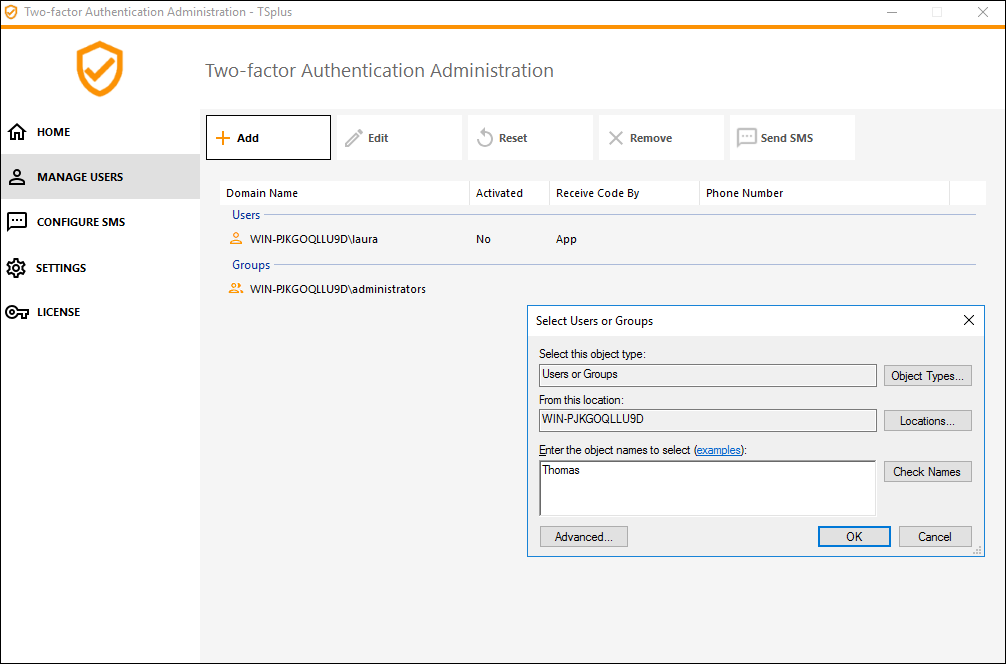
3) Add as many users and groups as required and then click OK. The users and groups are added to the list and enabled for two-factor authentication.
Edit Users
On the same tile, you can edit the way users receive verification codes by selecting a user and clicking on the "Edit" button:
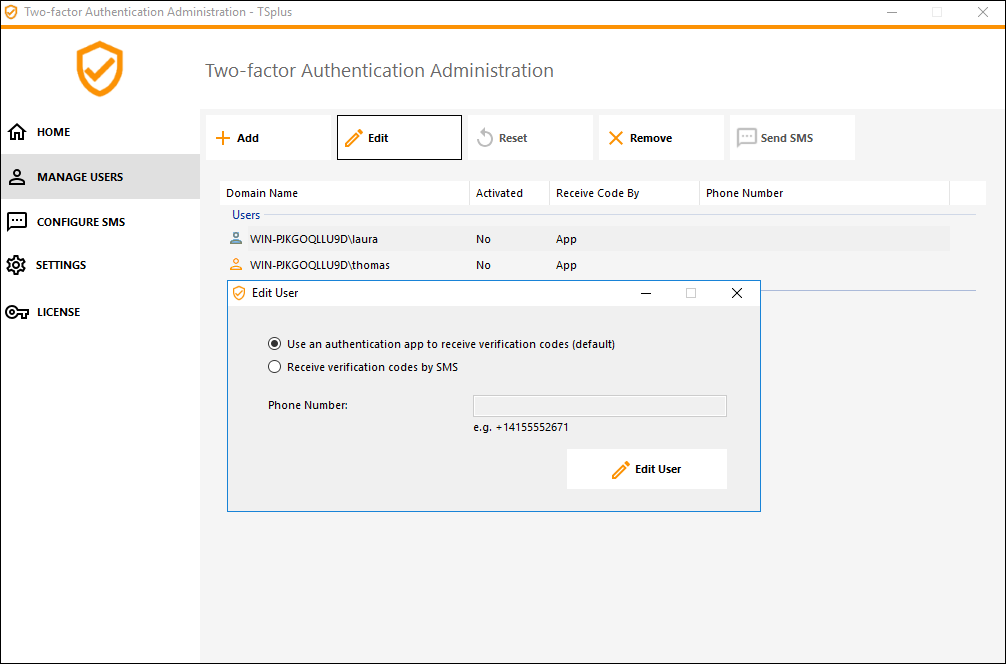
The user receives verification codes on the authentication app by default. You can choose that he/she receives it by SMS by selecting the option and adding the user's phone number on the field below.
Remove Users and Groups
In order to remove users or groups, select the user or the group and then click on Remove. A confirmation message is displayed.

Click Yes. The user or the group is removed from its list and won't connect using two-factor authentication anymore.
Reset Configuration for Users
In the event of the loss of the authenticating device for a user, or if the user needs to display the secret QR code again, you must reset the user authentication settings.
1) From the two-factor authentication administration application, click on the Manage Users tab.
2) Select one or multiple activated users and then click on Reset. A confirmation message is displayed:

3) Click Yes. The selected users will be presented a new QR code at the next login and will have to scan it in their device's authentication app.
You can also modifiy the user's phone number, so that he can receive a verification code on his new device.
Enroll User for Two-factor Authentication
Once a user has been enabled for using two-factor authentication, an activation message will be displayed at his next successful logon from the TSplus Web portal.

In order to complete the required steps, you have two choices: either generate codes via an authenticator app, either make the user receive codes by SMS.
Receive codes with an Authenticator Application
The user must install an authenticator app on a portable device, such as his smartphone.
You can use one of the following authenticator apps to proceed. These apps are available across a wide range of platforms:
- Authy
- Google Authenticator
- Microsoft Authenticator
Please use each app documentation for more details on how to proceed to add your TSplus account.
Configure SMS
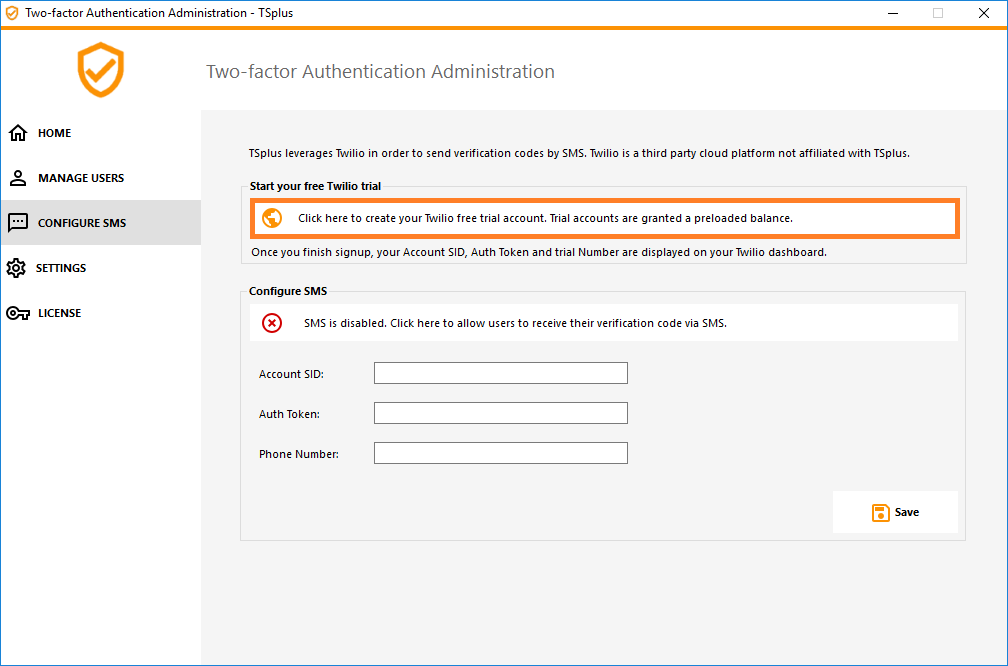
In order for the user to receive verification codes by SMS, you must first enable it. Click on the Configure SMS tab:

TSplus leverages Twilio in order to send verification codes by SMS. Twilio is a third-party cloud platform, not affiliated with TSplus.
1) Just create a free account on Twilio by clicking on the button below "Start your free trial with Twilio":
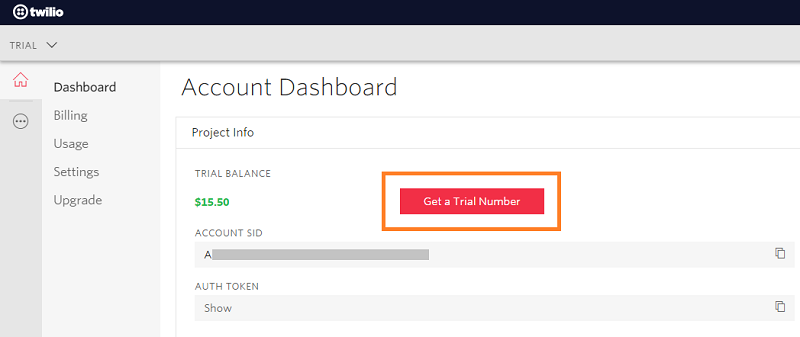
2) On your Twilio account dashboard, you will need to activate your Trial Number:
3) The next step is only necessary for Trial versions. It allows Twilio to verify the actual phone number on which SMS will be sent.
Enter this number under the "Phone Numbers" menu - "Verified Caller IDs" tab :

4) You will then be able to enter your account SID, Authentication Token and Trial Number as the Phone Number on the Configure SMS tab of TSplus:
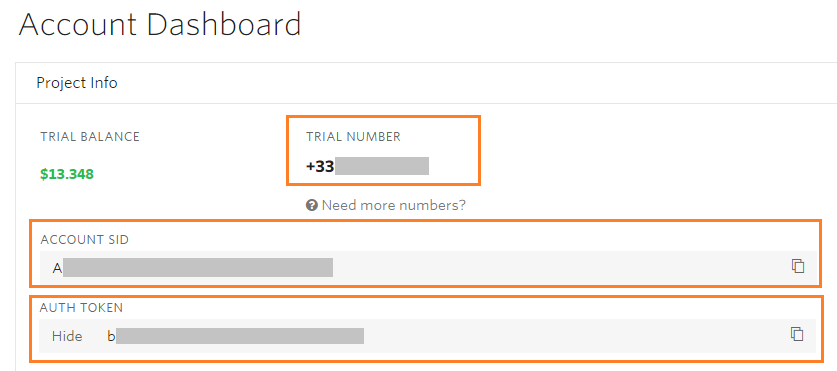
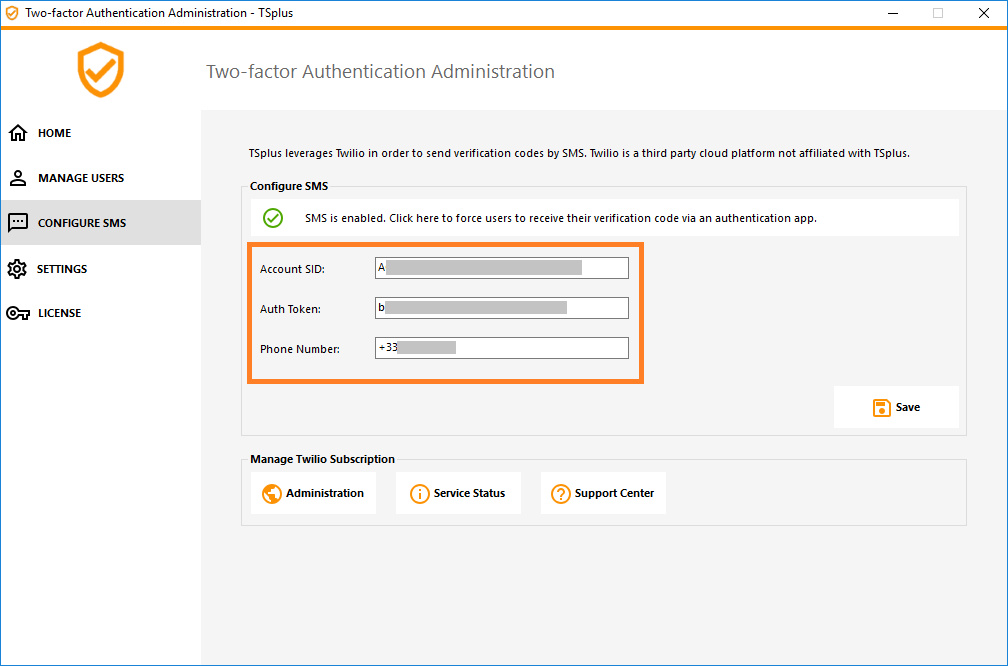
Then, click on Save. The following message will be displayed:

You can manage your Twilio subscription on the Manage Twilio subscription section, at the bottom of the Configure SMS tab. Administrate your account, see the Service Status or reach Twilio Support Center just by clicking on the corresponding buttons.
Login using Two-factor Authentication
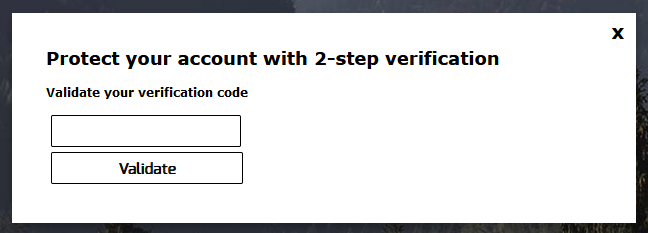
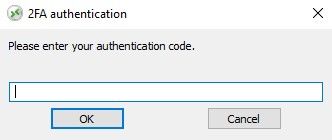
Once a user has configured his TSplus account in his authenticator app, he or she will be able to connect using its password and the code provided by its authenticator app or by SMS.
From the TSplus Remote Access Web portal:
From the TSplus generated client:
Time Synchronization
TSplus application servers and client devices must share the same time. This means that the time and date of the server must be synchronized with a time server. Client devices must also have time synchronization, regardless of the time zone on which they are configured.
If an authentication request comes from a Device whose date and time are not synchronized, or if the server's date and time are not synchronized, this request may be rejected.
The validation of information between the Device and the server relates to UTC time.
In the Settings section, the Discrepency parameter is used to manage the period of validity of the code, in intervals of 30 seconds.
Example of validation or valid authentication:
- the server is synchronized with a time server, the time zone is UTC + 2, it is 2:30 pm
- the Device is synchronized with a time server, the time zone is UTC + 1, it is 1:30 pm
- the Discrepency parameter is configured at 60, i.e. a code validity period of 30 minutes
- referred to UTC time, the Device time and the server time are identical.
Example of validation or invalid authentication:
- the server is synchronized with a time server, the time zone is UTC + 2, it is 2:30 pm
- the Device is not synchronized with a time server, the time zone is UTC-1, the time is manually set to 1:30 pm
- the Discrepency parameter is configured at 60, i.e. a code validity period of 30 minutes
- the server time referred to UTC time is 12:30 am
- the time communicated by the Device, referred to UTC time is 2:30 pm
- the difference is 120 minutes, the validation code is therefore refused.
Settings
![]()
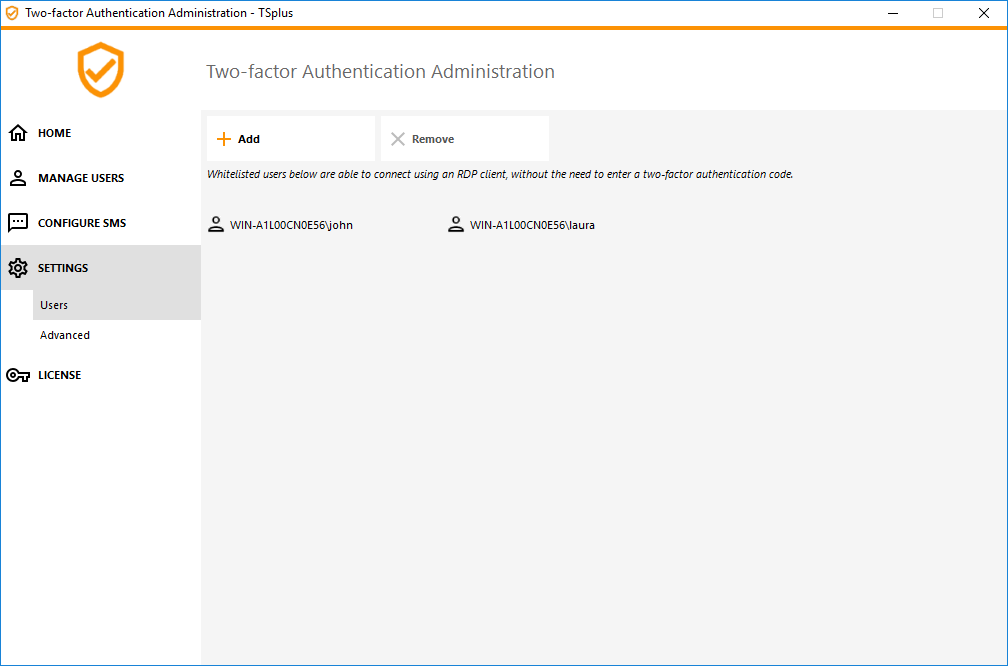
The Settings tab allows you to whitelist users, in order for them to connect using an RDP client, without the need to enter a two-authentication code.
Click on the "Add" button to add a user and remove a user by selecting it and clicking on the "Remove" button.
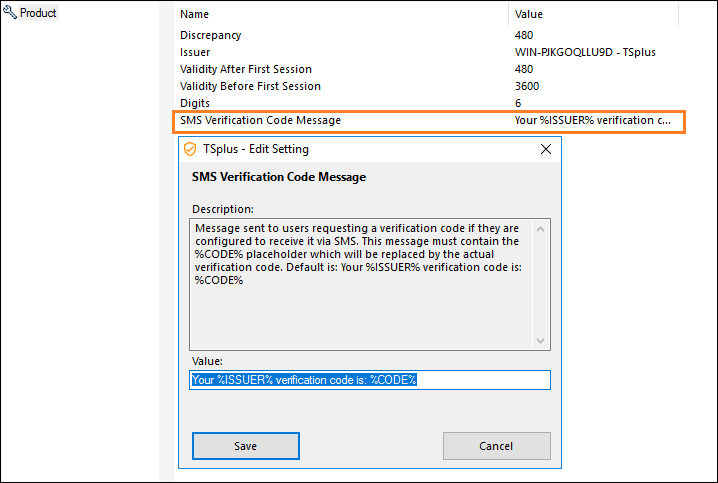
The Advanced tab allows you to configure Two-Factor Authentication in-depth settings.

Discrepancy
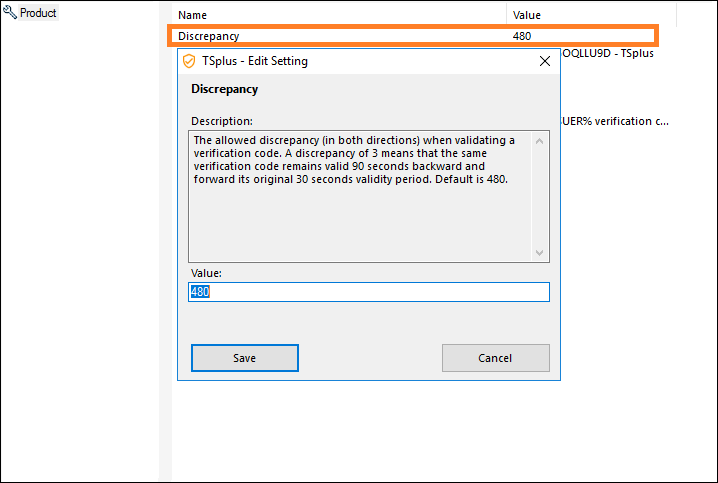
You can modify the Discrepancy value, which allows you to set the validation time of a verification code.
A discrepancy of 3 means that the same verification code remains valid 90 seconds backward and forward its original 30 seconds validity period. Default is 480, which means 480 x 30 seconds= 4 hours.
Issuer
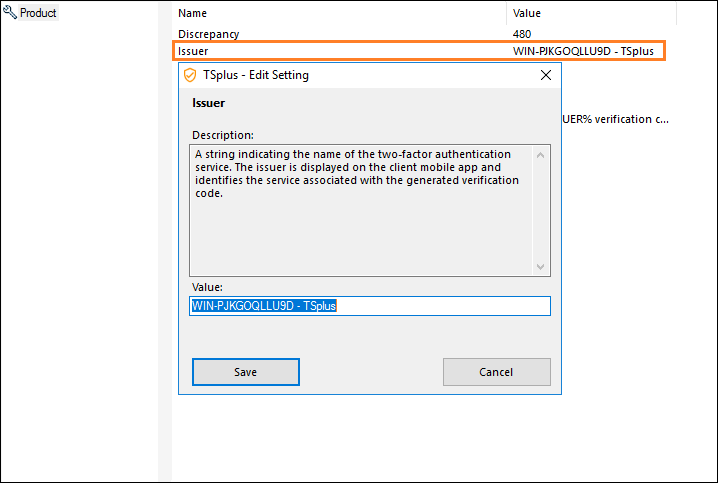
A string indicating the name of the two-factor authentication service. The issuer is displayed on the client mobile app and identifies the service associated with the generated verification code. By default, it is composed of the server's name with TSplus.
Validity After First Session
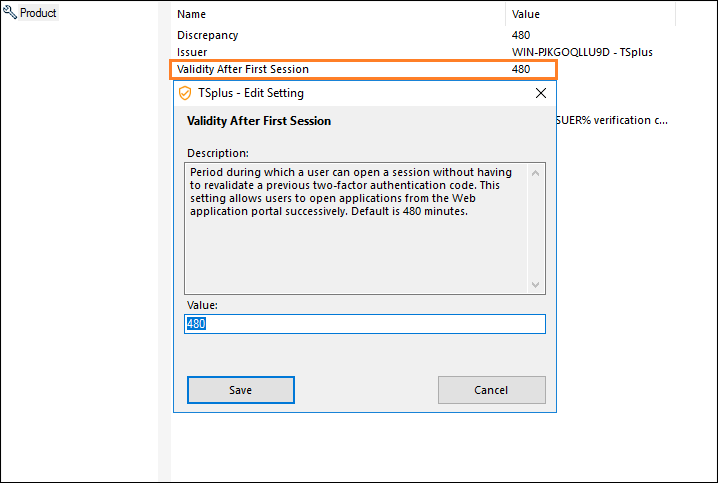
Period during which a user can open a session without having to revalidate a previous two-factor authentication code. This setting allows users to open applications from the Web application portal successively. Default is 480 minutes.
Validity Before First Session
Period during which a user can open a session after validating a two-factor authentication code from the Web portal or from the mobile app, in secondes. Default is 3600 seconds.

Digits
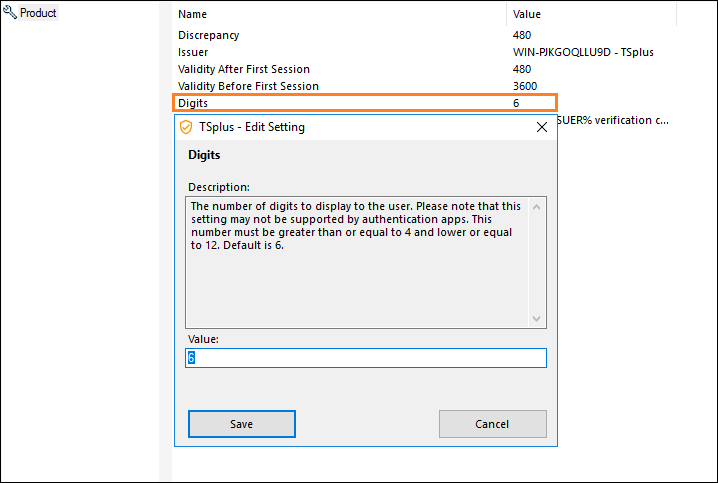
The number of digits to display to the user. Please note that this setting may not be supported by authentication apps. This number must be greater than or equal to 4 and lower or equal to 12. Default is 6.
SMS Verification Code Message
Message sent to users requesting a verification code if they are configured to receive it via SMS. This message must contain the %CODE% placeholder which will be replaced by the actual verification code. Default is: Your %ISSUER% verification code is: %CODE%
