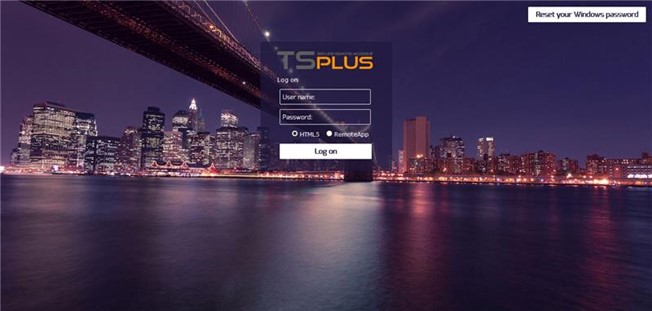
Creating and Customizing HTML Web Access pages using the Web Portal Customization
Using the Web Portal Customization, you will be able to create your own customized HTML Web Access pages - and there is no need to be a web developer!
Web Portal Customization - Appearance
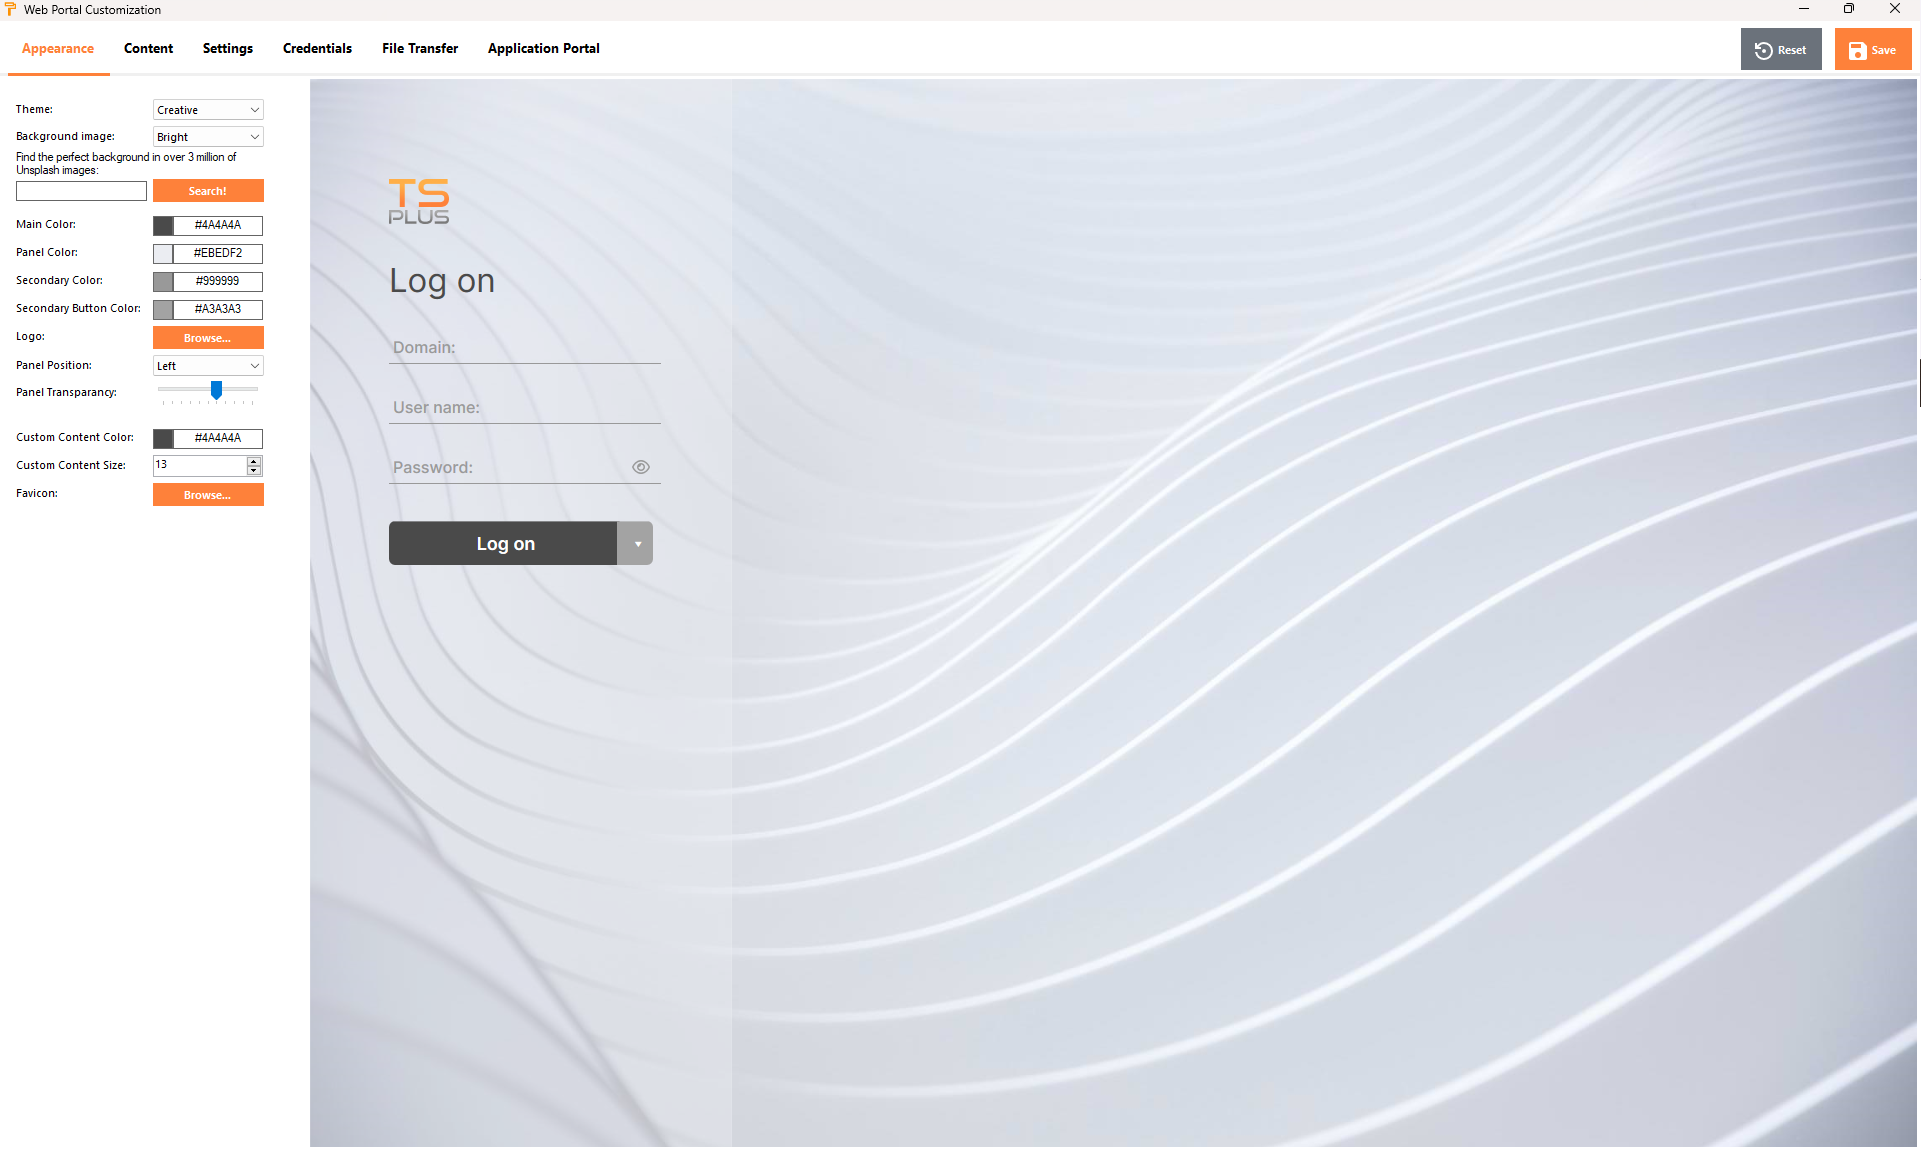
With the Appearance tab, you will be able to customize all the graphic settings, as well as add your own logo.
You have the choice between a collection of photos, or you can add your own. You can also set any color theme with the background color of your choice or you can use one of the classic themes.
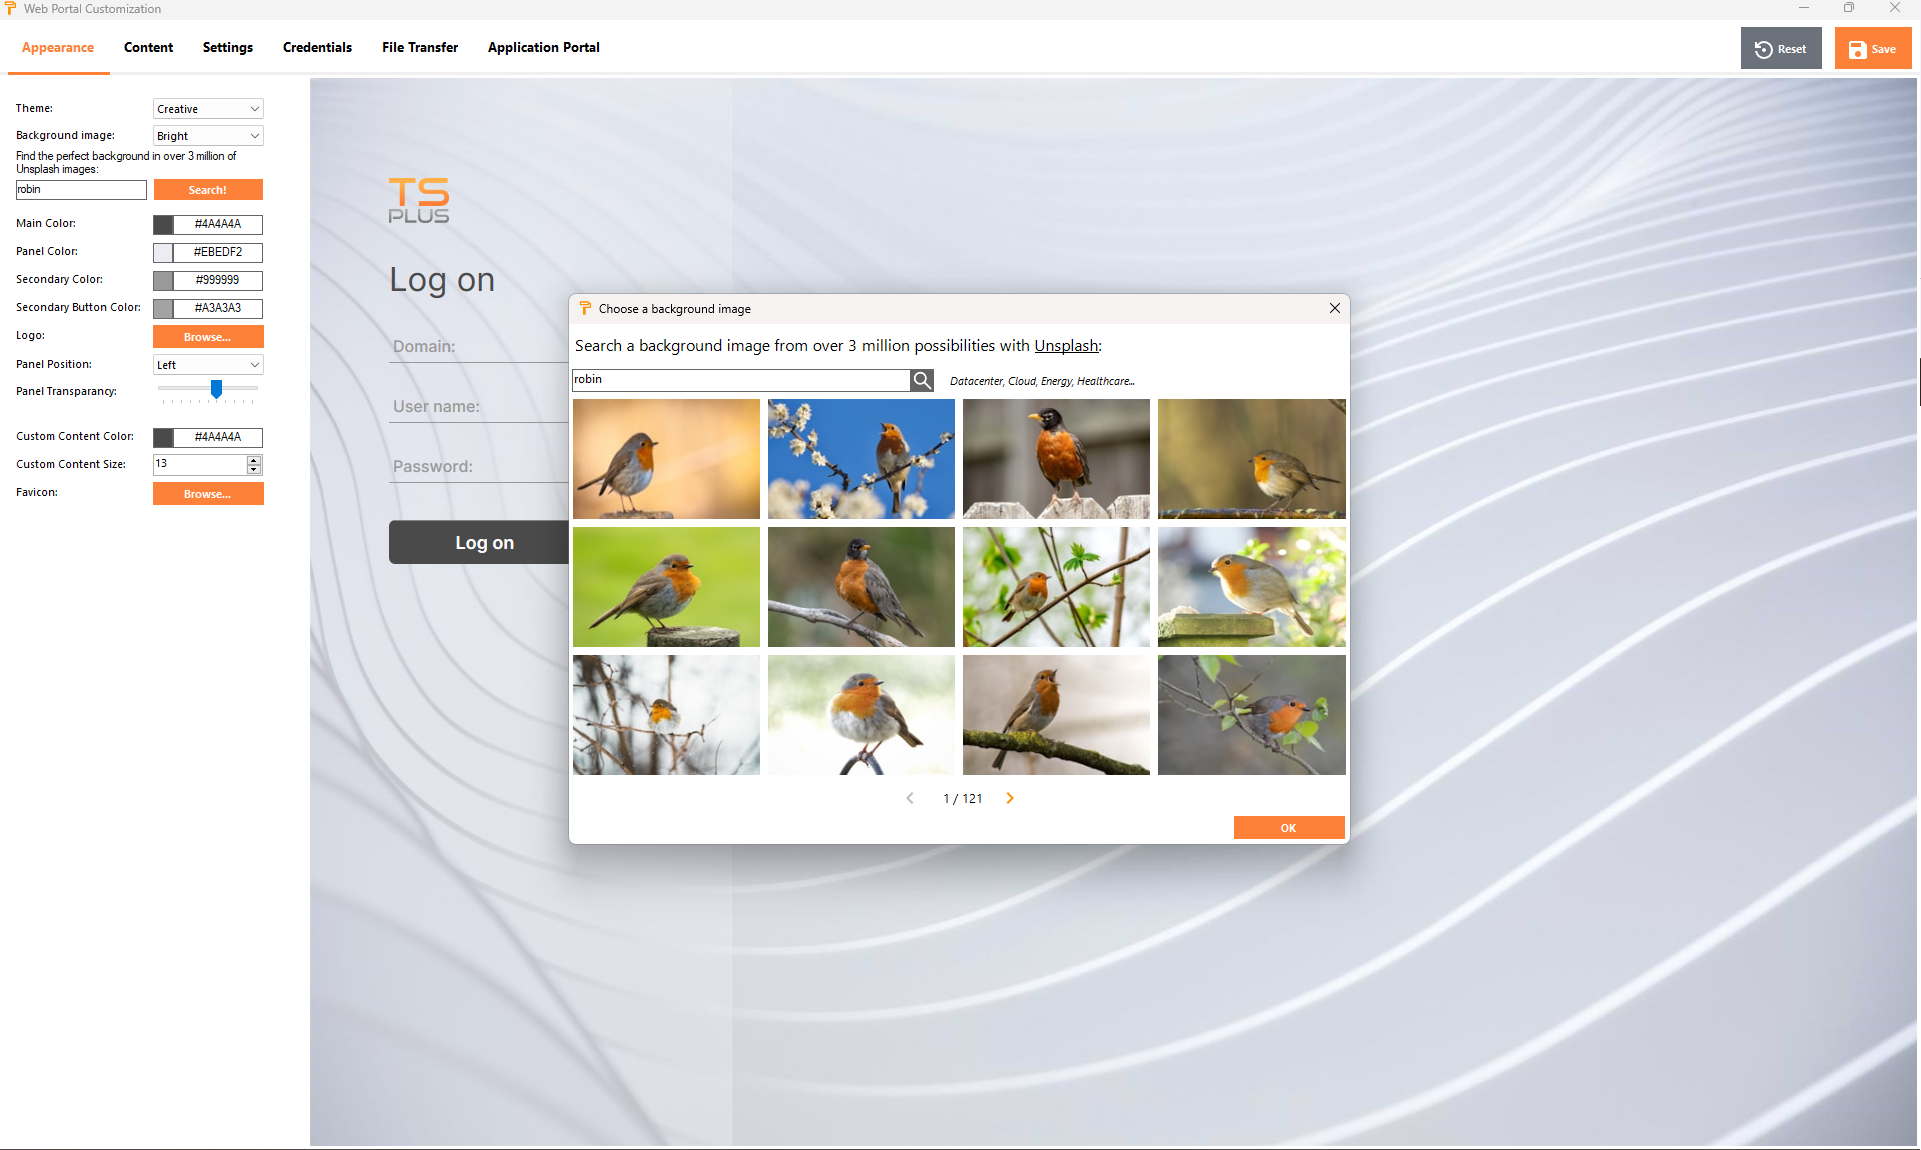
You can also type a keyword to search a background image from the Unsplash library:

I will display a collection of images to choose from.
Select your favorite picture to see the result on your web portal:
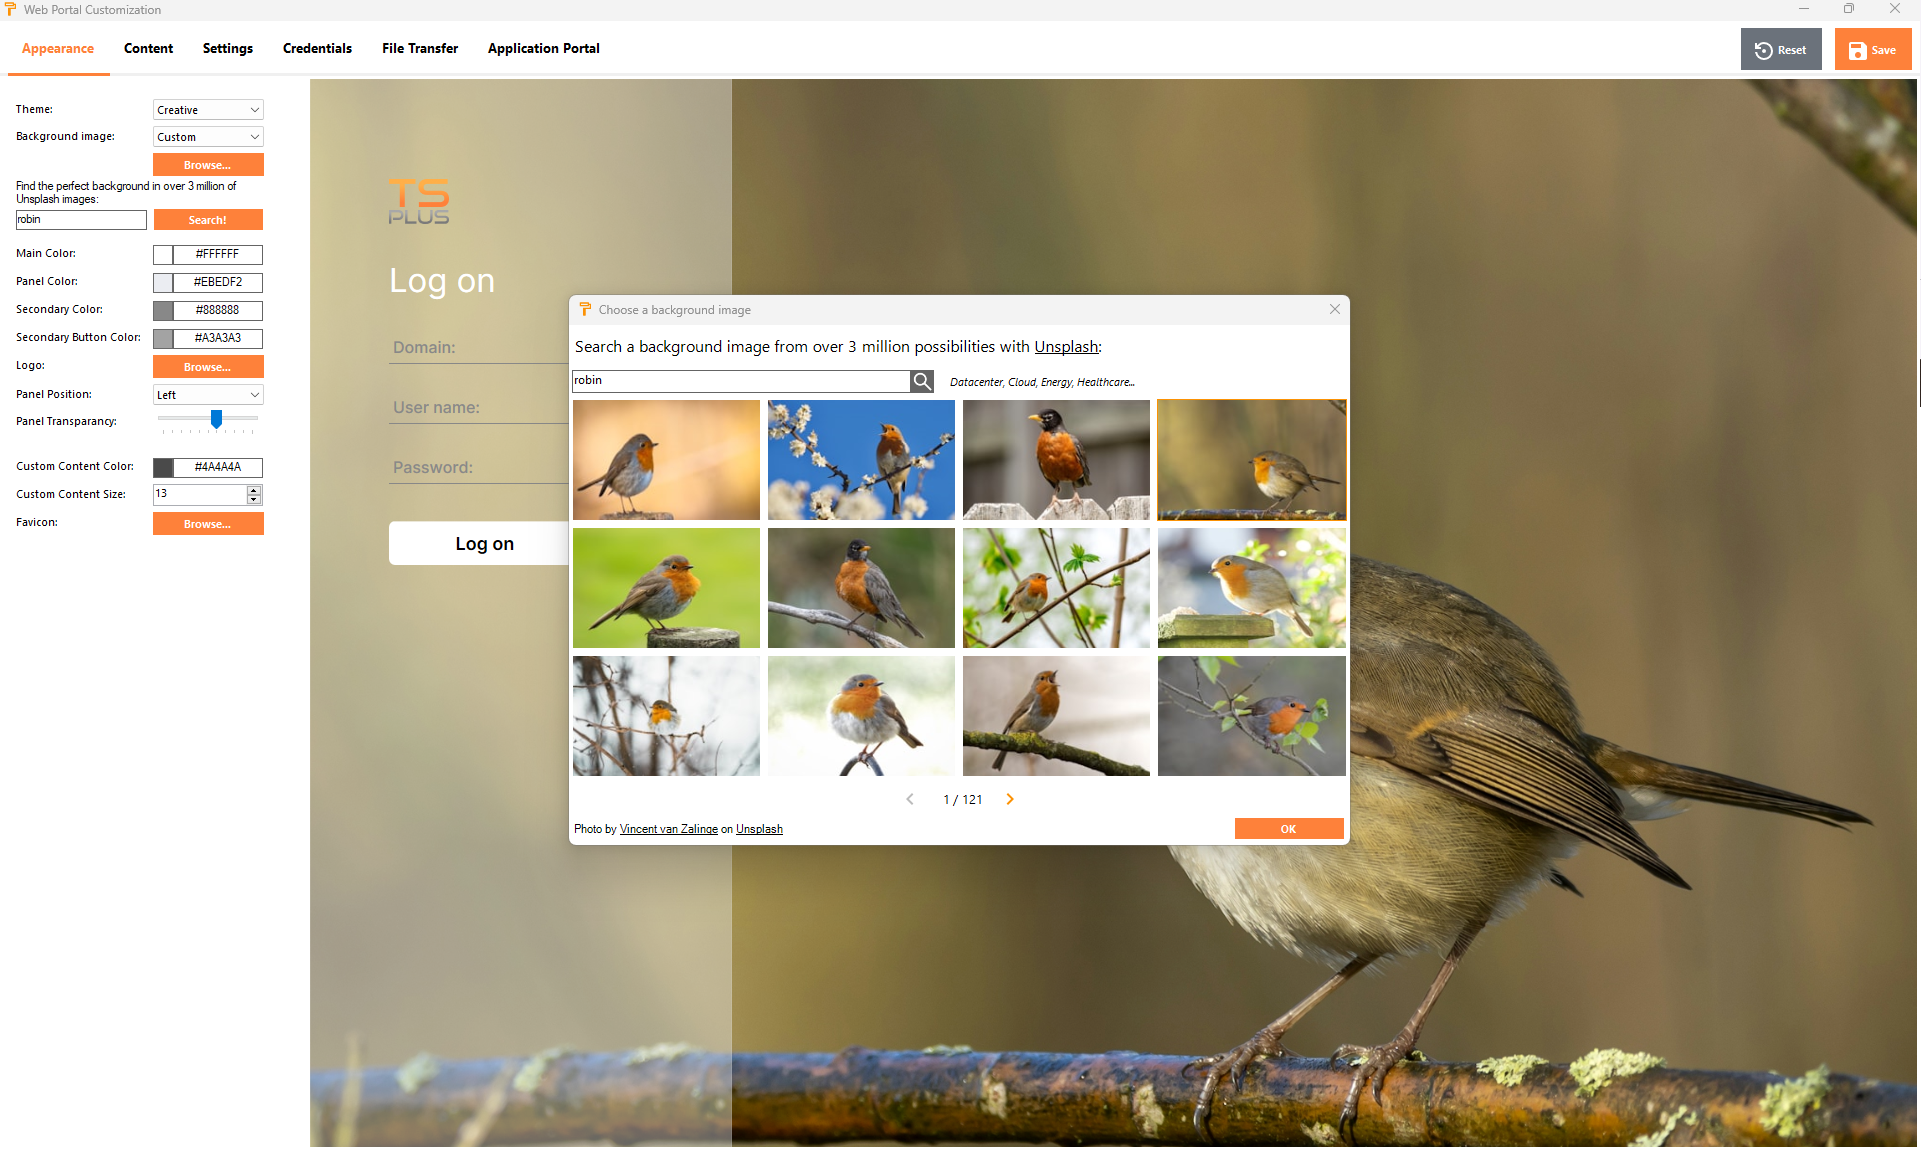
The theme colors will automatically adapt to the picture chosen once you validate your choice with the "Ok" button. Of course, you can still personalize the colors as you want.
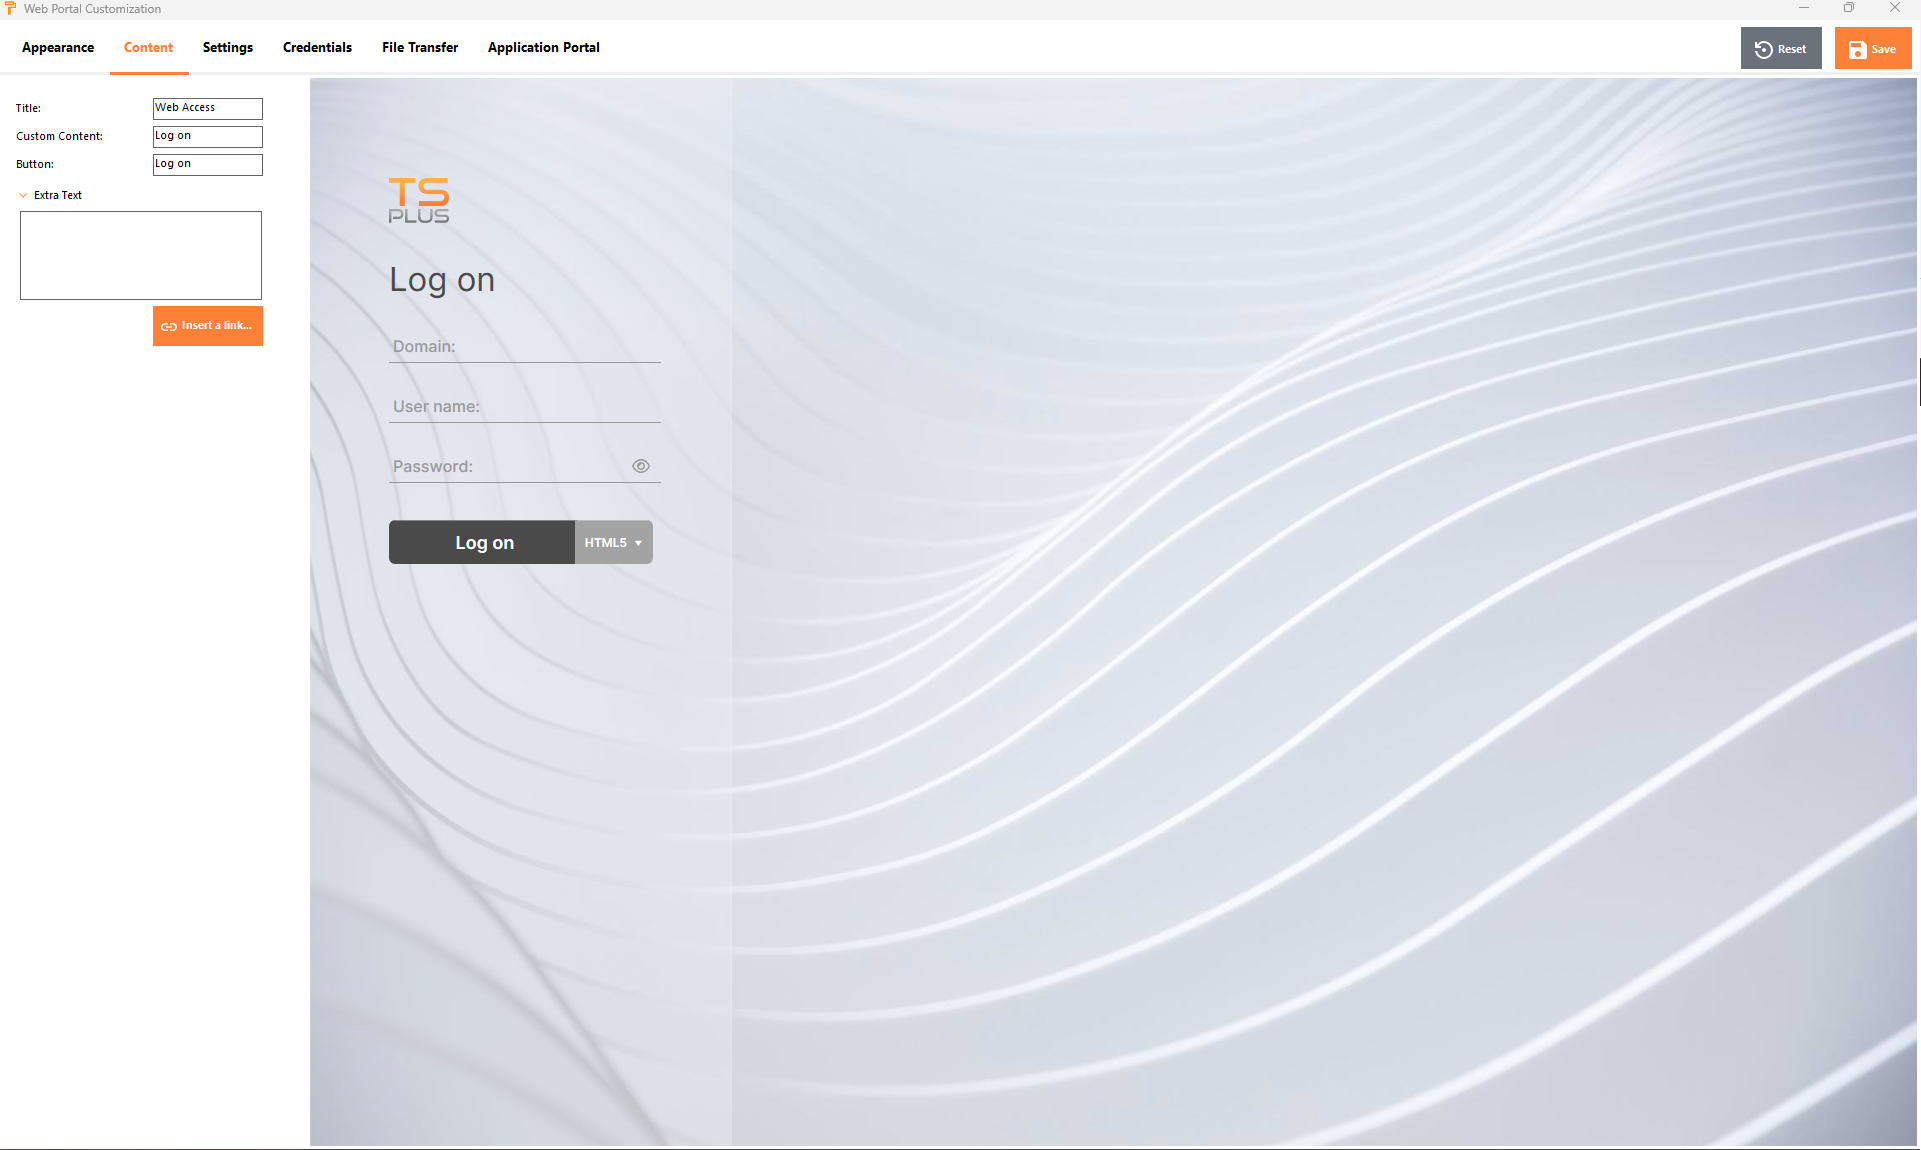
Web Portal Customization - Content
Web Portal Customization - Settings
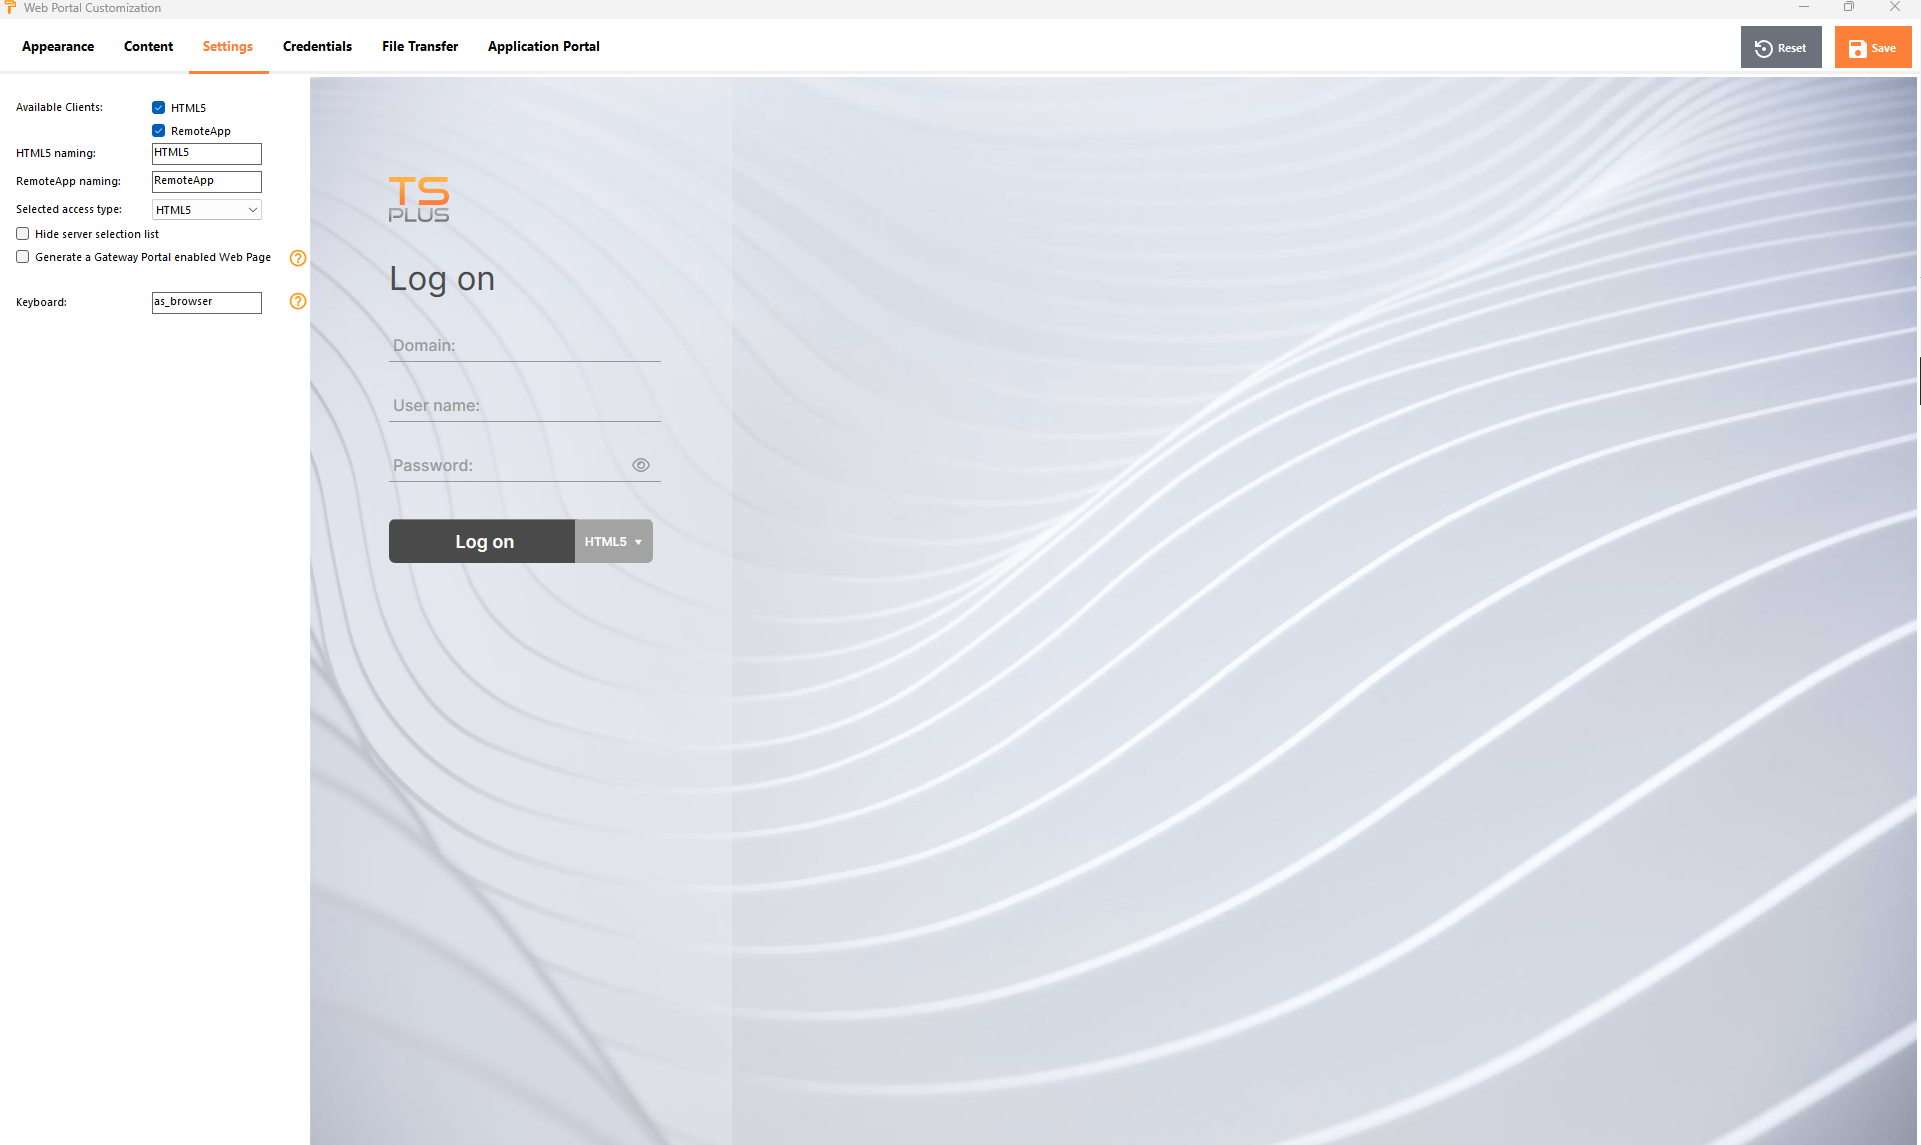
- "Available Clients": Choose between 2 types of web connection clients. If both are checked, the user will have the choice. You can change the name used for these options in your Web Portal. You can also choose which option is selected by default if both options are available.
- "Gateway Portal": Check it to activate a Gateway Portal enabled page. This feature adds an extra authentication step when you assign a server to a user or group.
- "Keyboard": Only for advanced administrators who have special keyboard requirements.
Web Portal Customization - Credentials
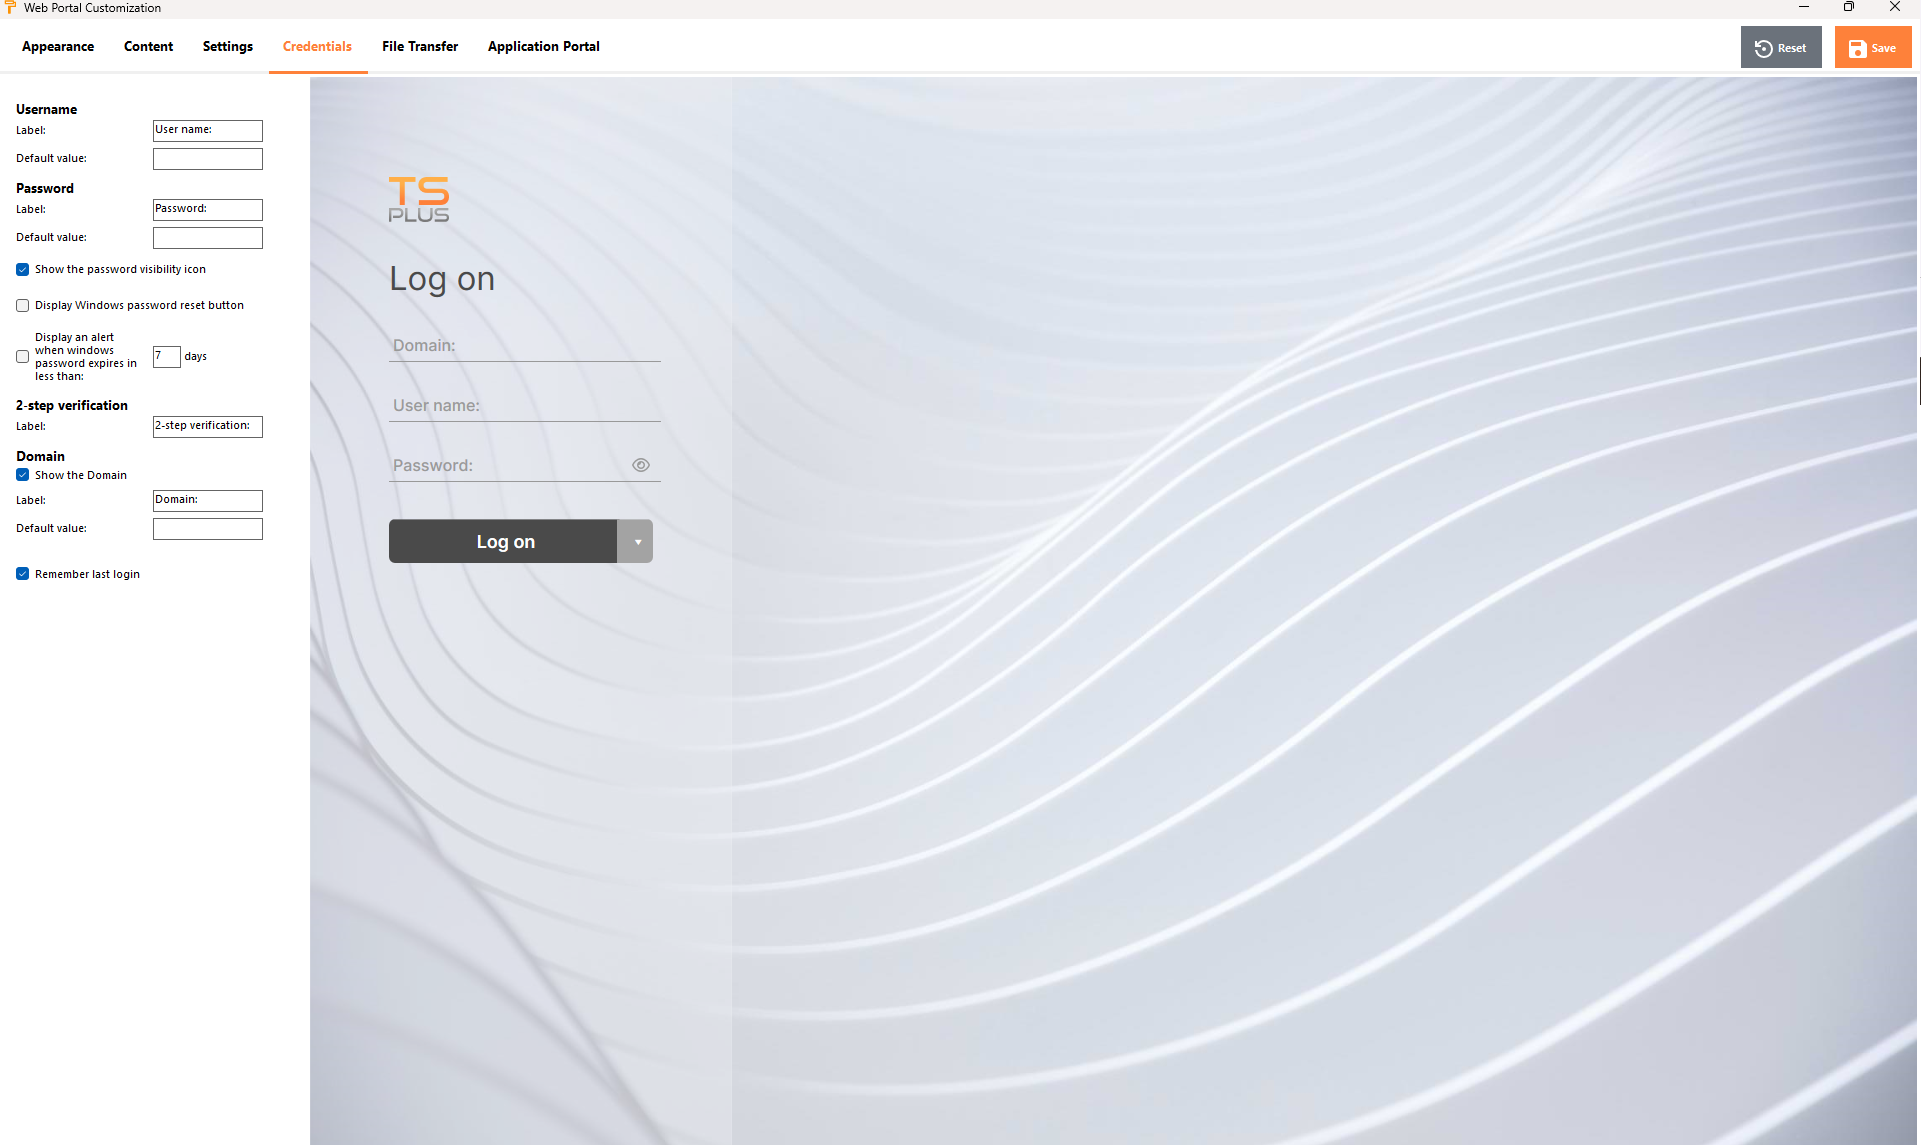
- "Label": You can change the text used to designate the user name, password, ...
- "Default Values": You can specify a default login, password and domain that will auto-populate the login fields. All of the settings present here are saved in the index.html file, which can be copied and renamed to your preference.
- "Show the Domain Field": When checked, the Domain field is included in the login information request.
- "Password": You can add an alert message showing during the connection through the web portal, to inform the user about his password expiring date. For example, the following pop-up will show if the user’s windows password expires in less than 3 days:
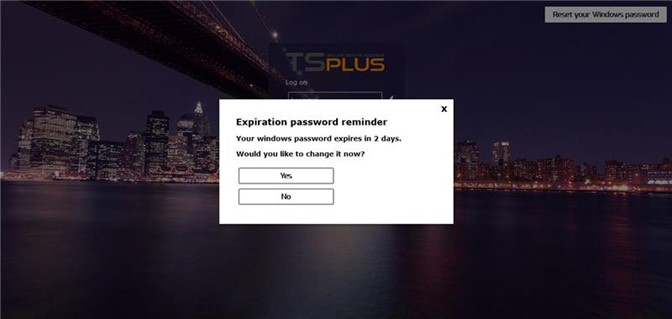
As mentioned it gives him the possibility to change it directly from the Web Portal using the pop-up displayed just below:
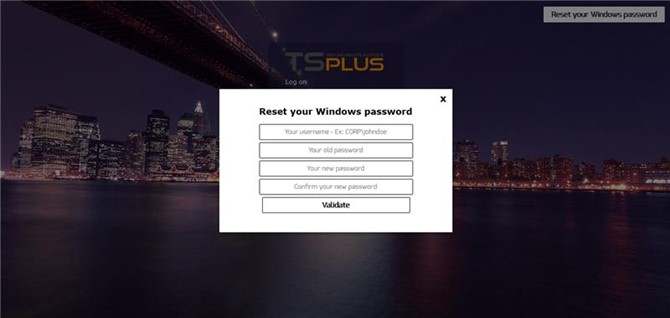
You can also directly make the user able to change his windows at any time, by checking the option “Display windows password reset button”.
Web Portal Customization - File Transfer
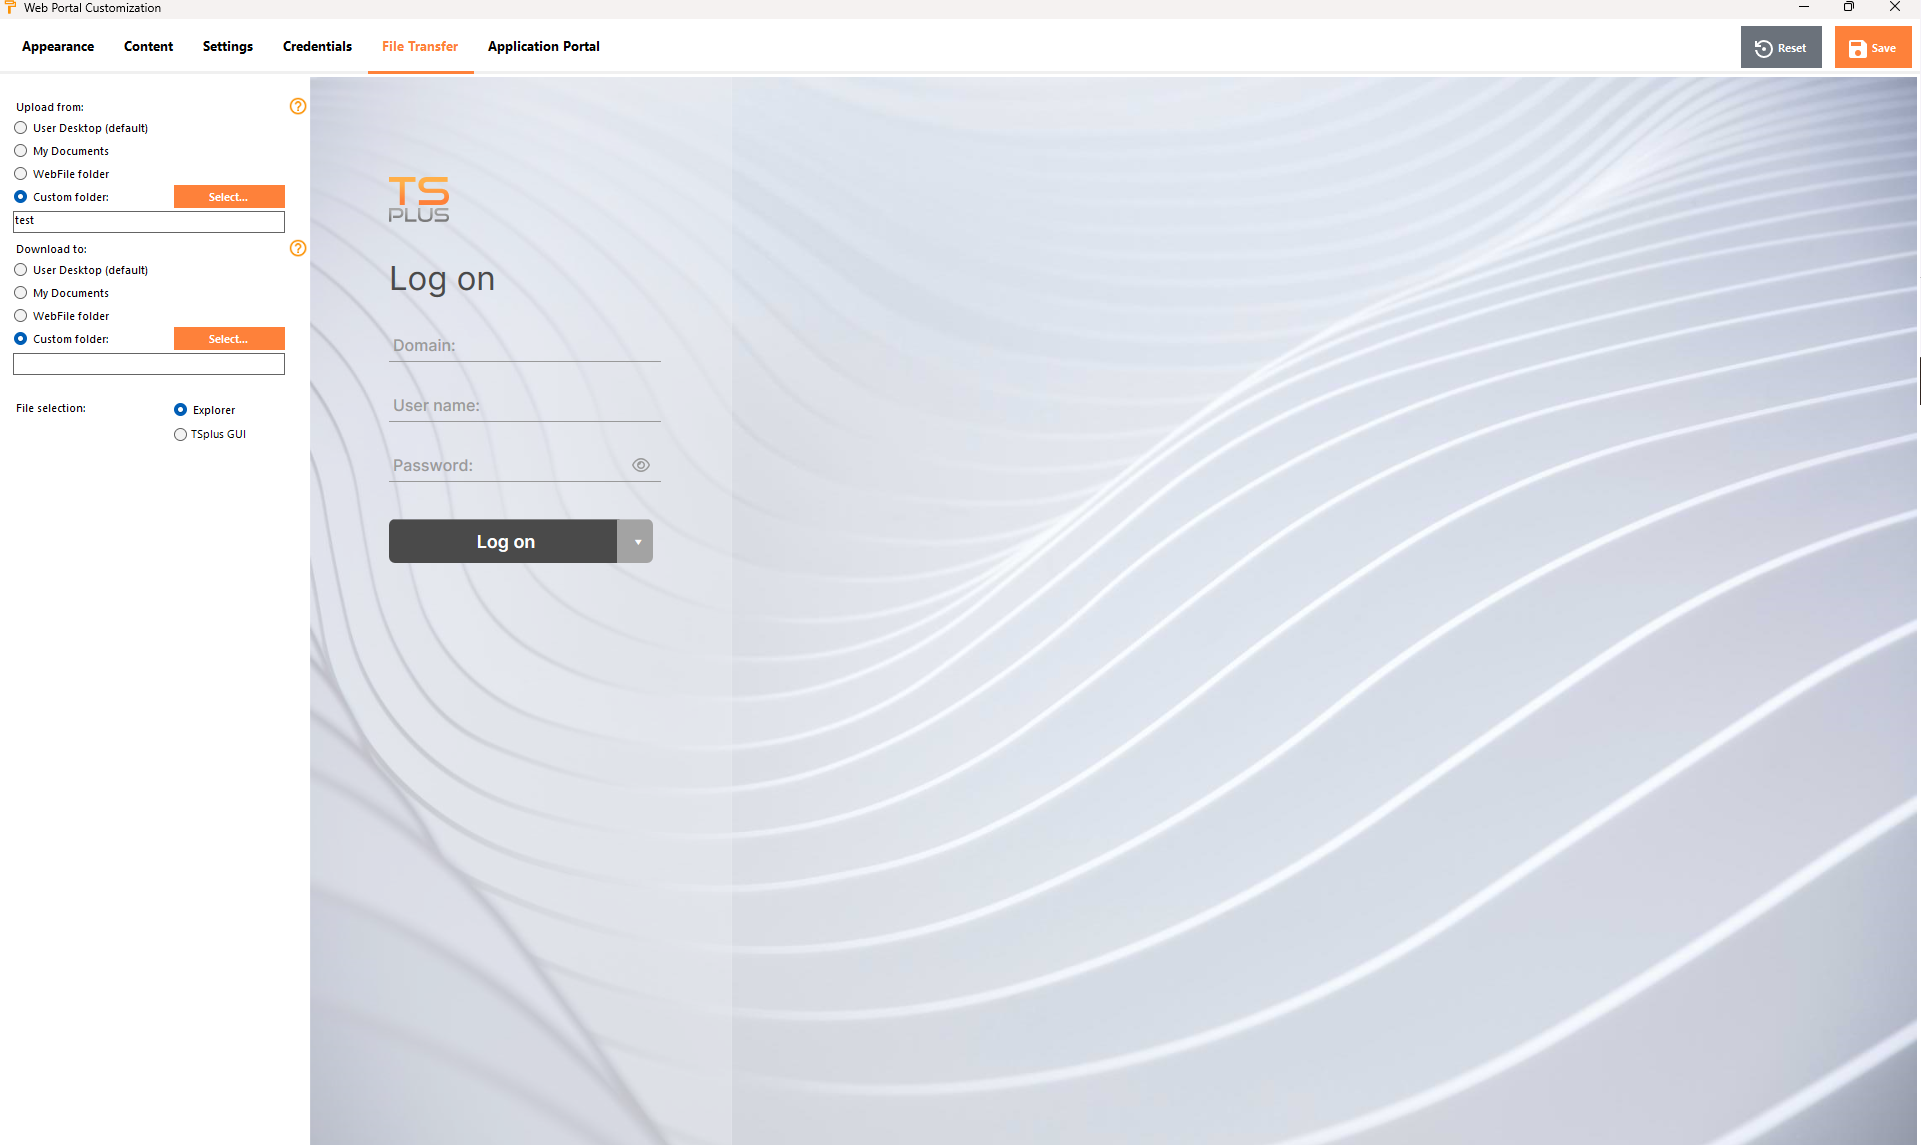
- "Upload - Download": choose source and destination paths for file uploads and downloads.
Web Portal Customization - Application Panel
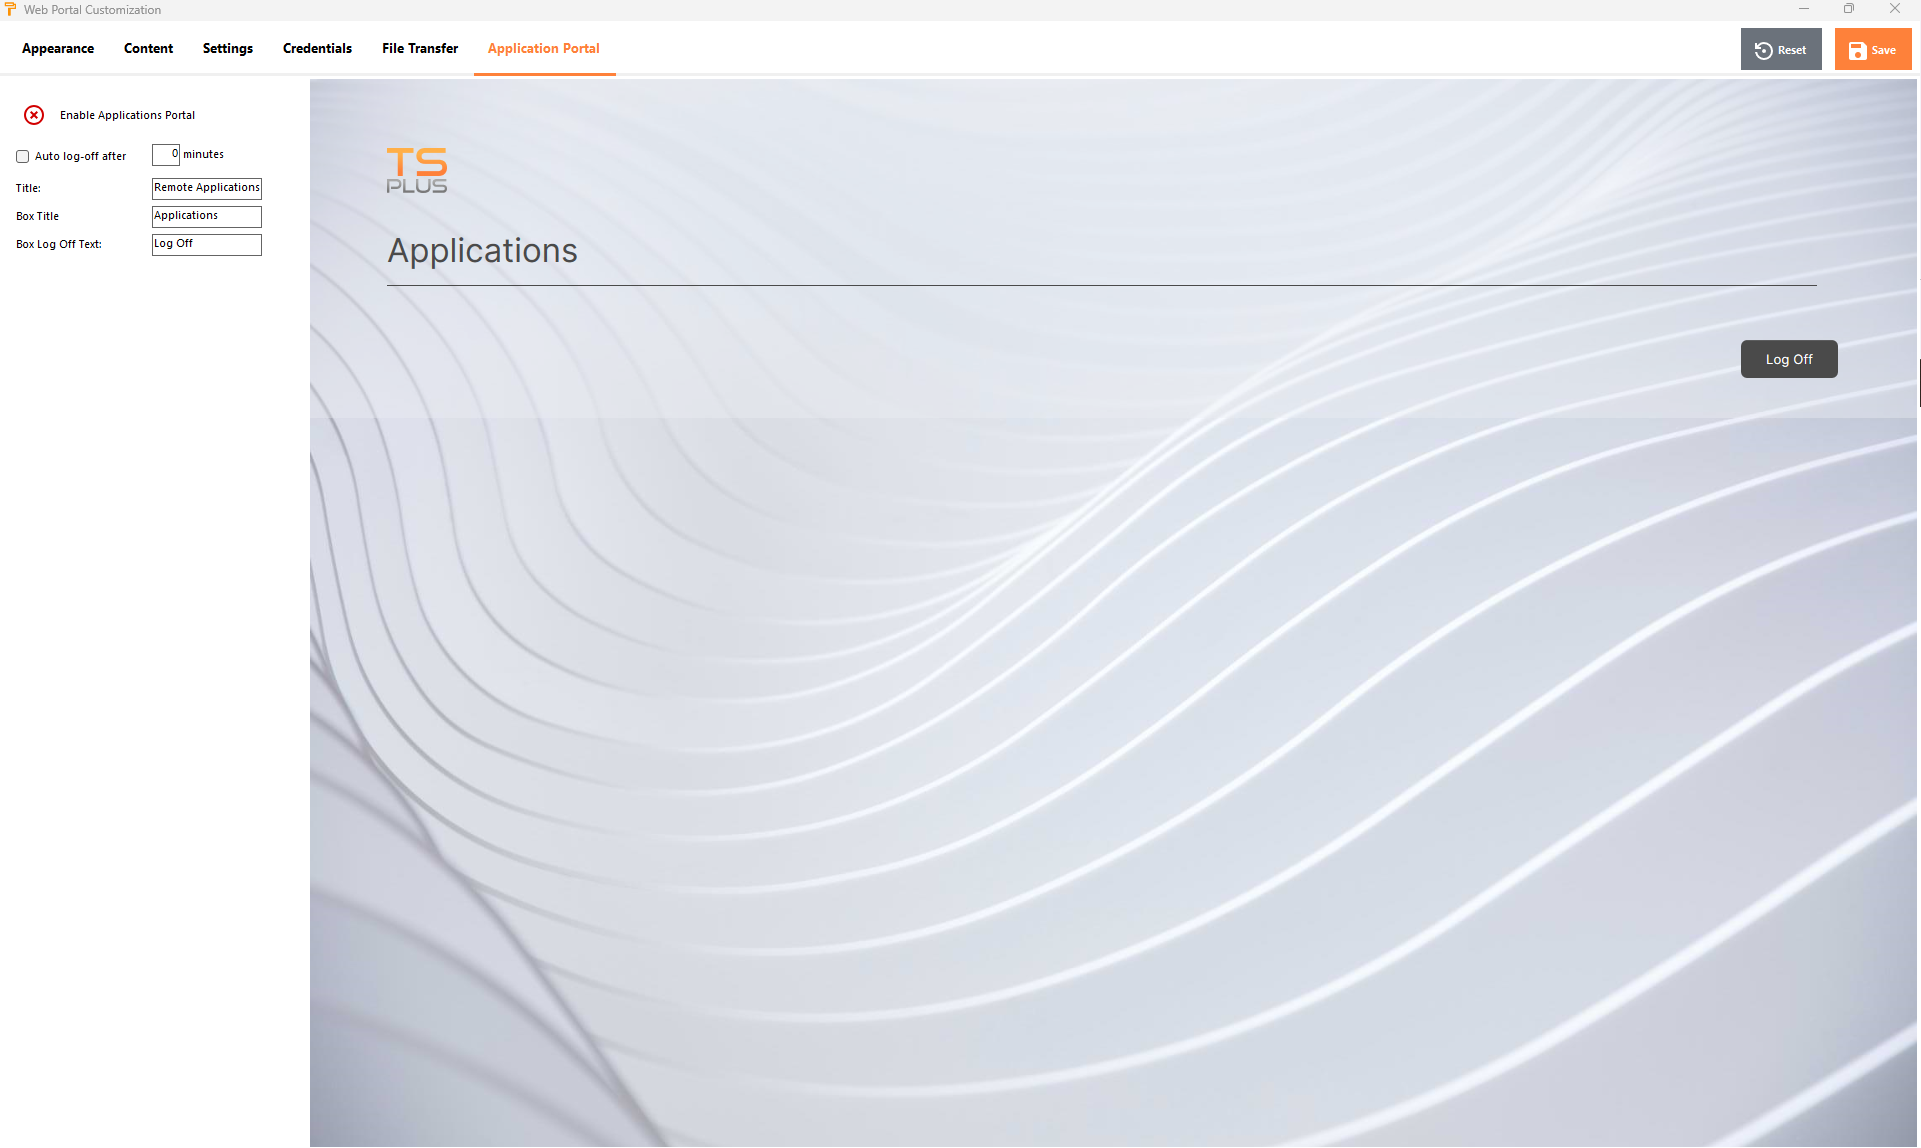
More information on the Application Portal can be found here.
Saving typed values and Resetting to default ones
Don't forget to click on the "Save" button to save all your modifications.
If you want to reset these values to original values, click on the "Reset" button.
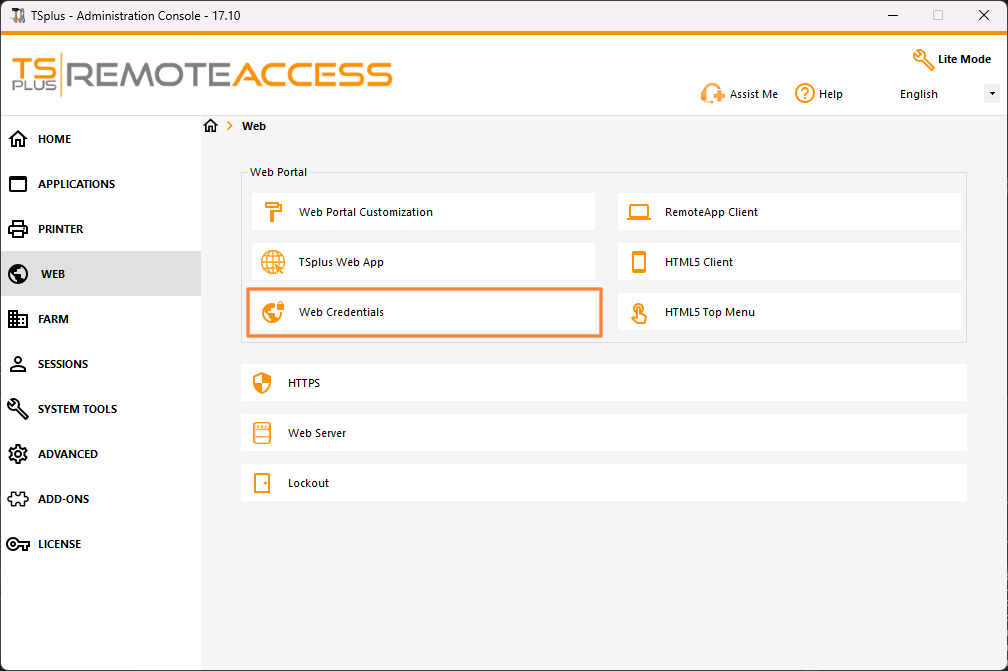
Web Credentials
The "Web Credentials" section allows you to enable (or disable) the Web Credentials feature.
When using Web Credentials, you might want to allow empty passwords. If you only have Web Credentials with empty passwords, we recommend that you uncheck the "Show Password Field" option, in order to simplify even more the web login page.
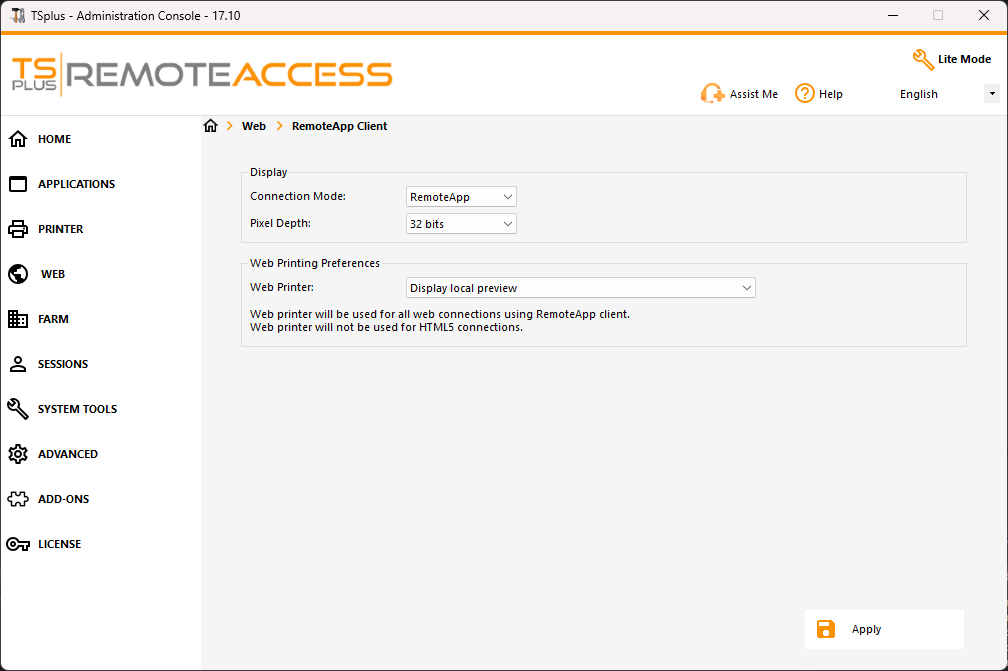
Remote App tile
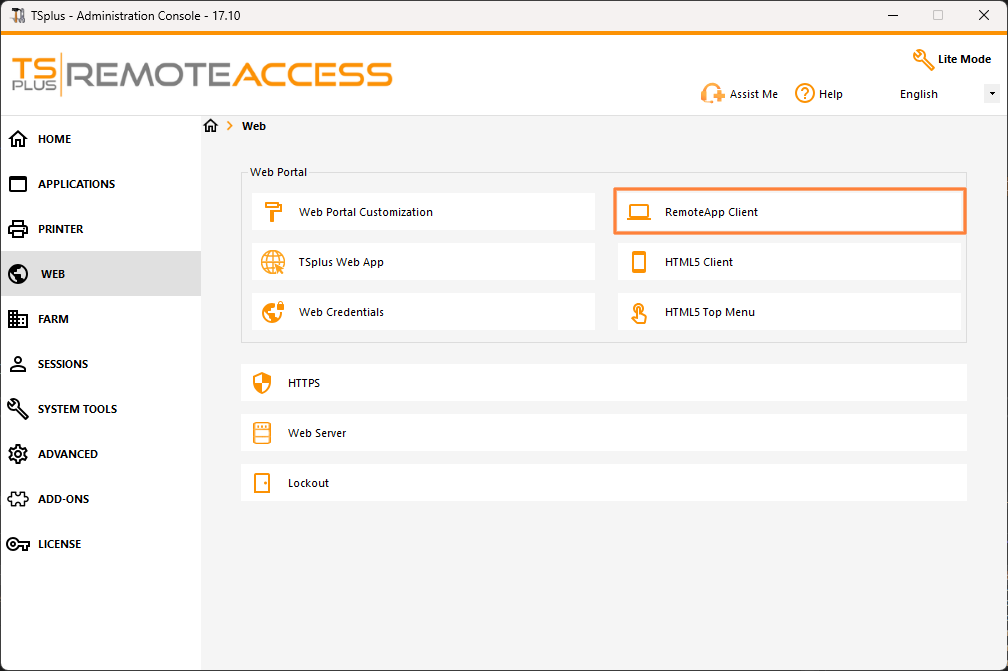
This tile is for Windows clients specific settings.
You can choose your display between RemoteApp (remote connection without the remote desktop) or Standard RDP. You can also decide if you want documents to be printed on the user default printer, display a local preview or the local printer choice.
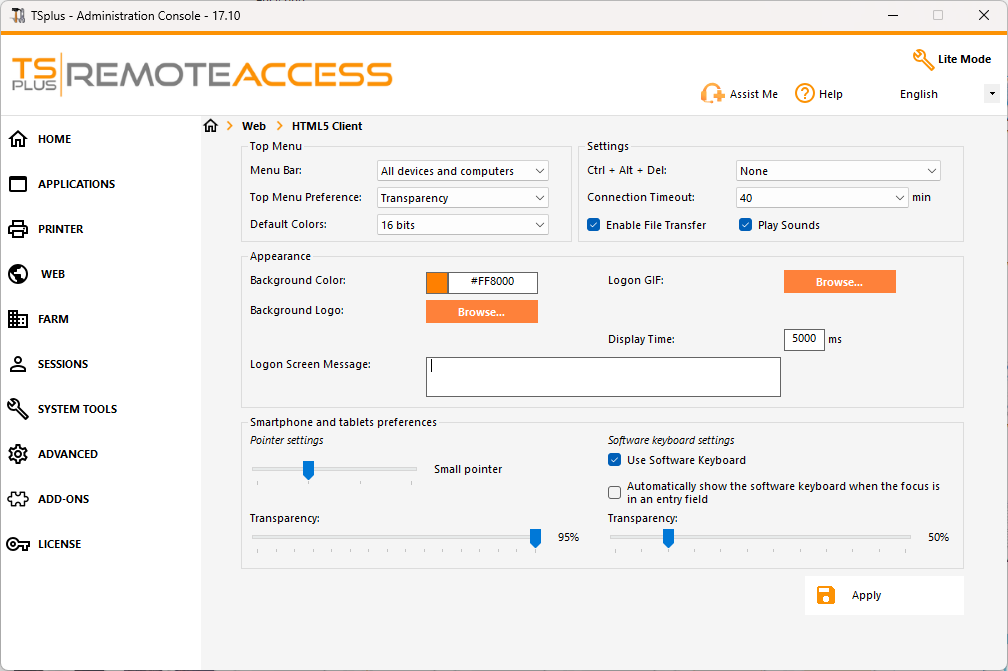
HTML5 client tile
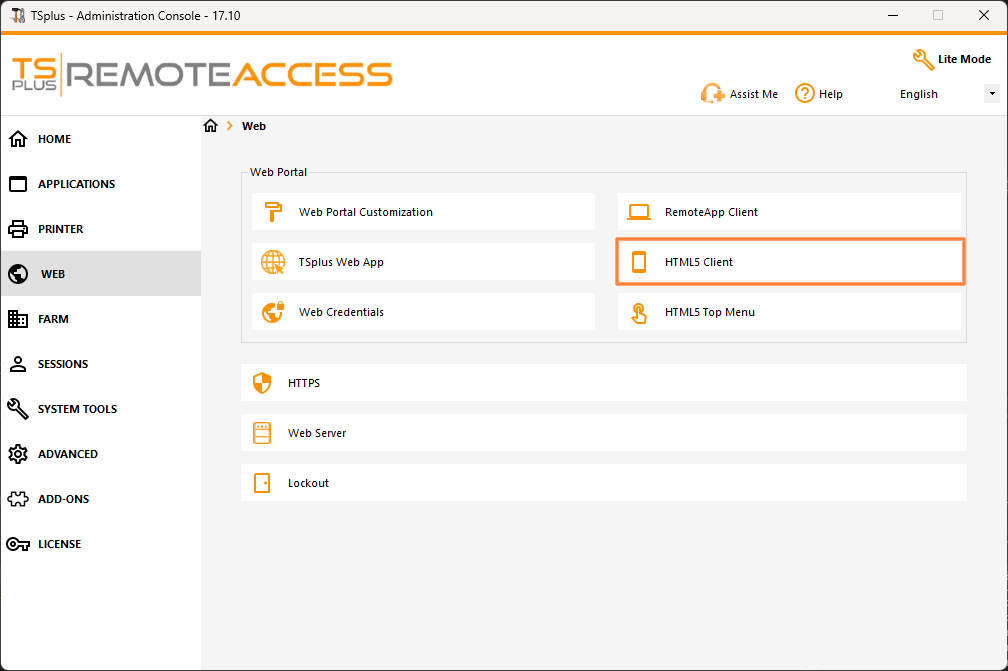
On this tile, you can edit the parameters for the HTML5 client web display. More information on this page.
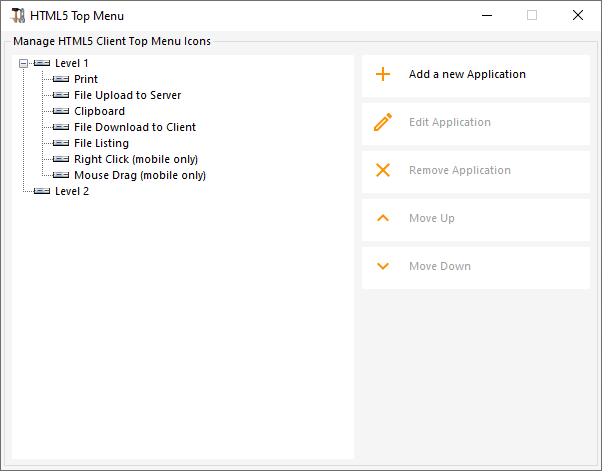
HTML5 Top Menu Tile
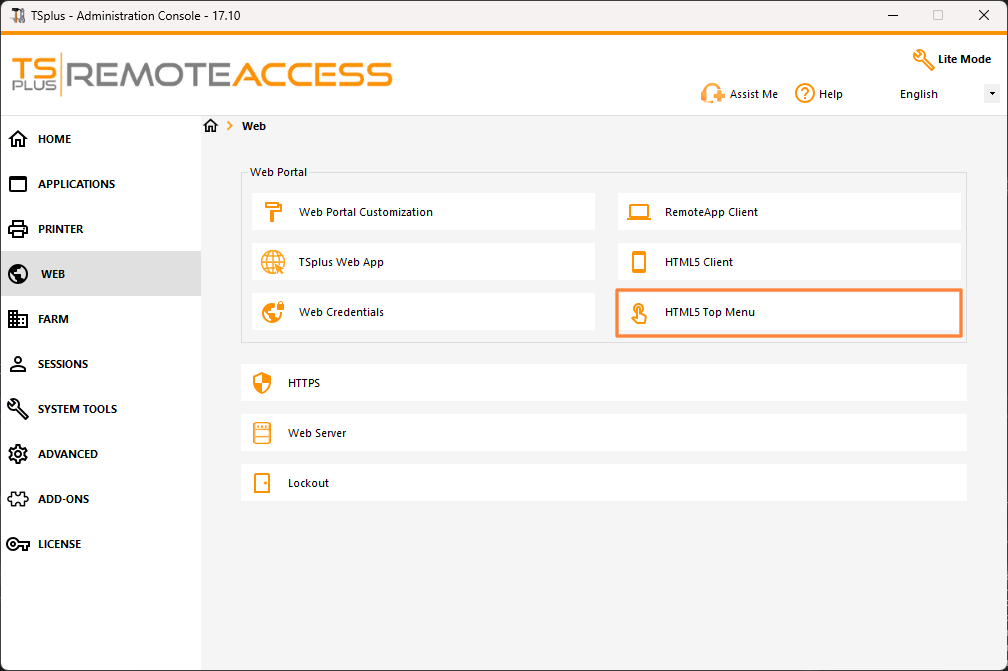
This tile enables you to choose the applications to display on level 1 or 2 on the Top Menu of your generated remote web session. You can also edit these applications in order for them to appear on a specific client type : pc, mobile, ios... on or all of them.
Generating the HTML Web Access page
We advise you to try a "Preview" before generating a new HTML Web Access page.
Once you are pleased by the preview, then you can click on the "Publish" button to generate and publish the page to your web server's root folder.
You will be asked for a page name. If you want to overwrite your default page, use "index". In this case, the newly published web page will be accessible at: http://your-server.com/index.html